DD_Brando
Content Type
Profiles
Forums
Downloads
Gallery
Events
Articles
Everything posted by DD_Brando
-
What a couple of years in the gang can do - Brando goes to the Dogz

-
I hate to sound old, but it's got to be Jimi Hendrix playing 'Machine-gun' for an old "I was there" fart like myself.
-
and a quick PS : your project is looking really good - can't think why I never said that before S! B
-
All CH pots have 3 pins also and the Ground wires are used throughout. You can daisy-chain the ground wire to each pot throughout the system so that you only need to make one or two connections into the the Bodnar board for Ground. (not sure if it needs to be a ring or a serial connection - check with Leo 5V+ This one can be serialised too Fighterstick_USB_Page_3.pdf Green is ground and blue is 5V+ in this example. Again I think you could ask Leo B. for the full SP (The full SP? - it's a betting term, SP= starting price )
-
Thanks for the encouragement fellas, and I'm dividing my time today between the rig I'm rebuilding and working on this project. I realised last night that the trigger, the red bit, is unnecessary if I substitute a pair of buttons in the space, one for m/g and one for cannon. Roughly placed for photo. Cut in properly it'll be much neater & I'll be able to press them both together if required Using the shift function in the CH Control manager will enable me to fire rockets and/or drop bombs too, wicked! For RoF I guess I could use the shifted commands to cock the guns or whatever. Now where's that Dremel? B
-

Well Heck, Here Is Mine Then (No, Not X-Rated)
DD_Brando replied to PropNut's topic in Hardware Hell
Go on CG, you know you want to.... -
The Daily Mash - Policing Seems To Work
DD_Brando replied to GreyKnight's topic in The World According to CaptJackG
This is my favourite ..."And yet somehow I'm the fucking bad guy." Priceless -
I've opened up an FFB2 a couple of times and, as I recall it, the USB attachment is not too far in. There is most likely a dry joint in there, where one of the wires is still in it's hole (in the PCB) but the solder joint has broken down. Wiggling the lead makes the wire rub up against the copper trace and it reconnects, but it will probably be temporary. A quick dab with a fine point iron (25W max) should be enough to renew the joint. If you do go in, make sure to photograph every step. The main screws are located under the rubber feet. There's no need to dismantle the handle! That is a bear. Just follow the wires in from where they enter the body. Soldering forceps are useful - clamped over the copper trace that leads from the loose wire, they will stop the heat from running all through the piece.
-
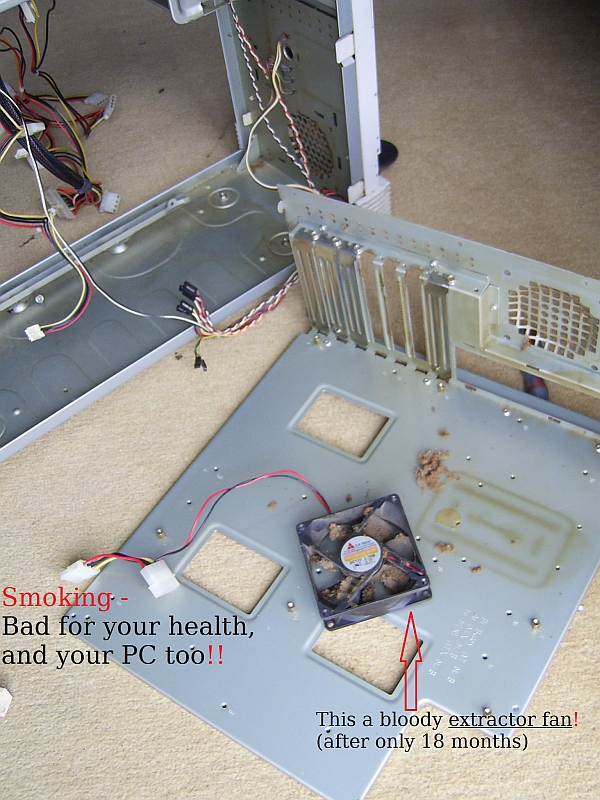
I just cracked open this case to start rebuilding a friend's comp - eighteen months after I last worked on it, and left it clean
-
Well Heck, Here Is Mine Then (No, Not X-Rated)
DD_Brando replied to PropNut's topic in Hardware Hell
I took a look at the map - but my Pensioner's free bus pass doesn't extend to Michigan, damn it! That's nice workmanship Mr P - first class B -
CH Products sell entire USB cables here Just before you go splicing on a new USB plug I suggest you first check the entire length of the cable to make sure it hasn't snagged anywhere or been crushed. Also, with the stick plugged and working, wiggle the cable where it enters the joystick in order to see if there might be a loose connection on the primary PCB.
-
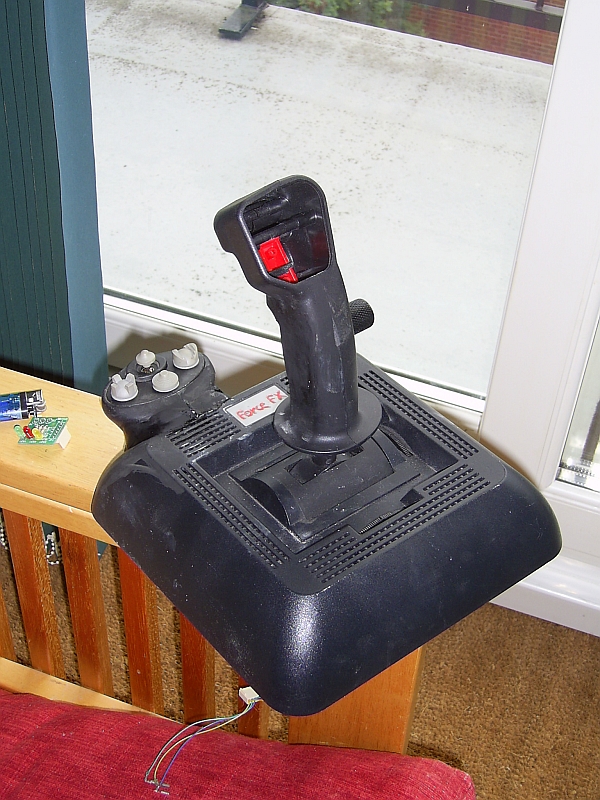
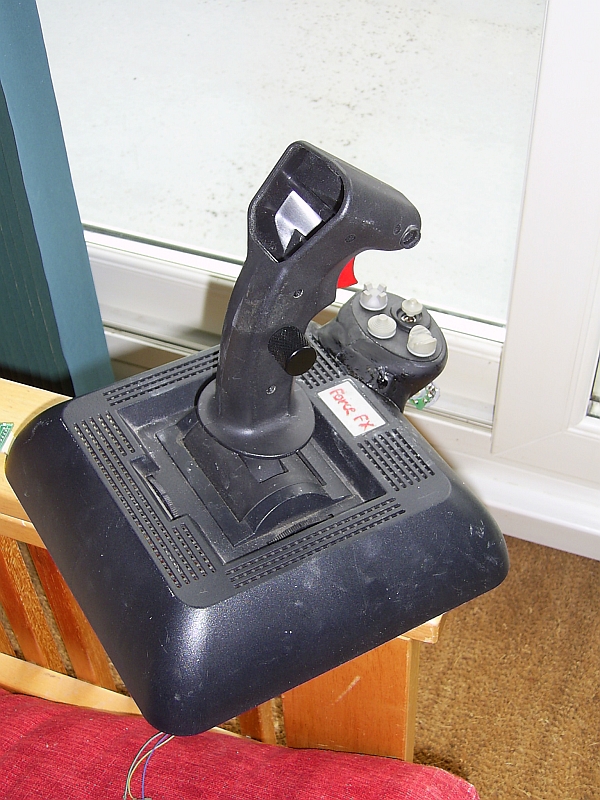
I pushed on a bit and it's beginning to shape up Guitarists may recognise my throttle control as coming off a Fender Telecaster - solid metal, knurled for grip and pretty damned cool! I started out by buying a Bodnar BU0836X circuit board a while back- and the throttle will run through that, along with various buttons and pots that I'm planning to add to the stick base as outriggers. Meanwhile, the X & Y axes will use the CH PCBs and wiring as usual. The missing four-way hat (sawn off the handle) will reappear as single buttons, two on the stick, two on the base. Likewise with the rest of the throttle buttons and one spare axis. I hope to get an axis up near the top of the stick and use it for prop pitch. There's a big empty space where the mode button normally fits. watch this space B
-
The best replacement would probably be Hall sensors though I'm uncertain what effect FF would have on their functionality. Here's what I found regarding ratings: Force 3D/Strike Force 3D DigiKey: 963223-KIT-ND FORCE 3D DigiKey: 963191-KIT-ND STRIKE FORCE 3D RES,VAR,100K,50DEG,+/-10%,PLAS 3 X, Y, Twist RES,VAR,100K,70DEG,+/-10%,PLAS 1 Throttle Extreme Digital 3D DigiKey: 963193-KIT-ND EXTREME DIGITAL 3D RES,VAR,100K,50DEG,+/-10%,PLAS 1 Twist RES,VAR,100K,70DEG,+/-10%,PLAS 1 Throttle RES,VAR,100K,50DEG,+/-10%,PLAS 2 X, Y and straight from the horse's orifice - DigiKey
-
You're absolutely right about the pots needing to be connected to the Logitech circuit board for FF to work. Not only that, but also the FF motors and their DC input. I'm not sure whether you can substitute better pots in the circuit. It may be possible if the ratings are similar and could correct some of the faults that Logitech pots are known for. I think the notchy, rattly stuff you report with the pedals is just down to materials. I find that angle metal works well if it is bonded onto rubber which is then bonded onto the baseboard. The insulation that method gives makes a super difference. I've gotta go. Real life and I've got to fetch ma-in-law to Sunday dinner. Sharing the load with your missus, that's a good thing to do cyl B
-
Check out the Windermere Airshow snaps I have put in the Gallery
-

-
A set of shots taken by Valda's brother at this years WA.
-
-
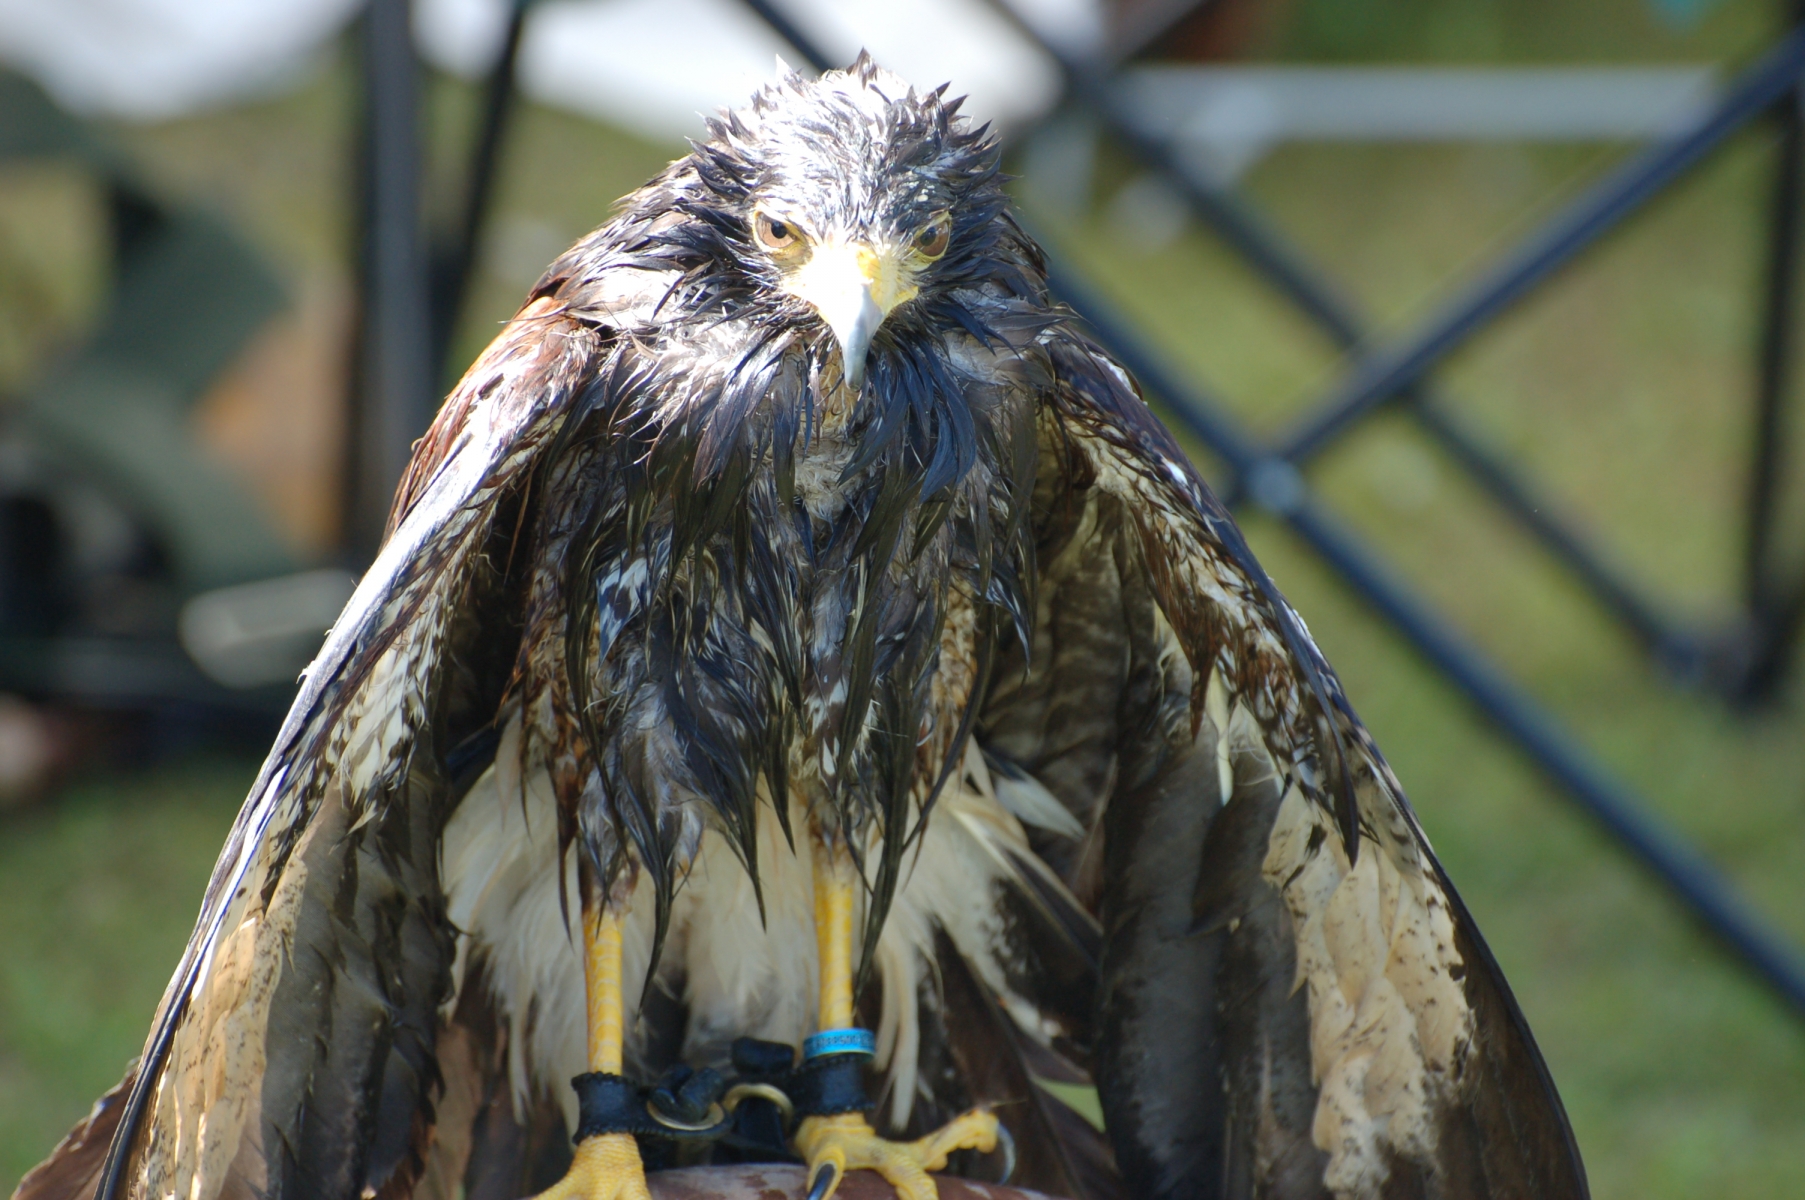
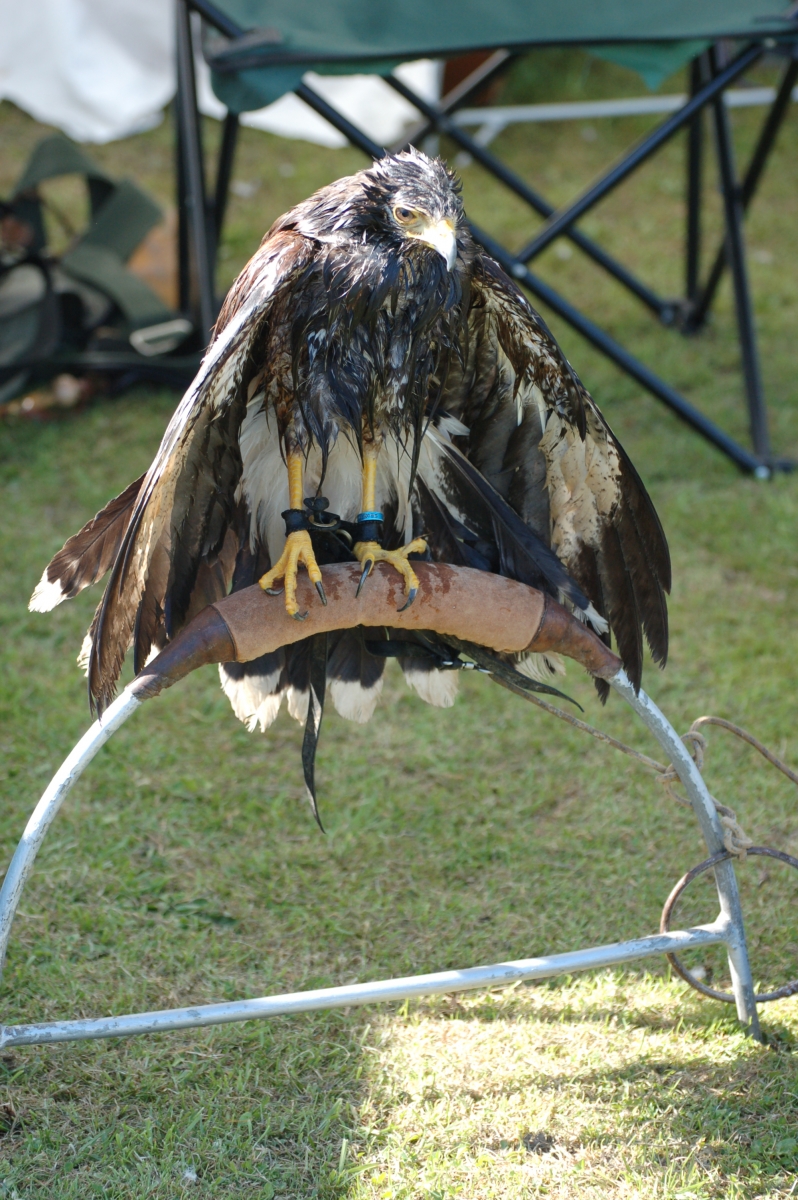
From the album: Windermere Airshow snaps
Come back here and I'll show you what I think of water-balloons....© Mark Harding 2011
-

-

-

-

-

-

-