-
Posts
3,381 -
Joined
-
Last visited
-
Days Won
90
Content Type
Profiles
Forums
Downloads
Gallery
Events
Articles
Posts posted by fruitbat
-
-
-
-
-
-
Good stuff Colin, thank you

-
Now with added F-4 option, not gonna lie, bit more difficult, as you trying to look out the front and between your legs at the same time!
Two F-4E spawns available same as the F-16 ones, TACAN and ILS already set at spawn in, mission attached,
-
Here's a little challenge for all of you Viper pilots, a blind landing approach using the ILS to land, utilising the new fog settings in the mission builder for a low visibility landing, mission attached.
2 F-16's are available, one 50 miles out to use TACAN to get on the correct radial before switching to ILS, and the second one 10 miles out on radial and correct height for a straight in ILS approach. If using the second spawn, best to start in active pause and enter the correct Tacan and ILS frequency into the DED before unpausing.
Its a relief when the runway comes into view!!!
-
 3
3
-
-
-
The text will be larger, double what it was cause i just increased the font size by double cause 4k is twice the height of 1080 and cause the abbreviated icon setting that we tend to use, which is the '^' is linked by the font size, so that part is easy to change to personal preference. If you open the file in something like notepad++ its line 151,
local default_font = {"DejaVuLGCSans.ttf", 30, 0, 0, 0}
Technically it should be 26 not 30, as it was 13 originally, but that was close enough when i compared the screens and i was to lazy to change it again.
I never really used text icons before so I can't remember how big the text was. I just used old screen shots to check and get the abbreviated icons to the same size as they were before.
It looks like you can do a huge amount of customisation including distance and fade in fade out in that file, names at different ranges, if you can work out the right bits!!!
In an ideal world, I'd of just increased the size of the ^ and left the text the same size, but I can't see how you unlink them easily if at all.
Editing .lua files is not my speciality though!
Edit, found some old screenshots i made showing the difference between pre multithreading and post, when both versions were available,
pre,
post multithreading,
-
 1
1
-
-
Since multithreading came out, icons have not scaled with resolution, making them almost impossible to see in 4K. After waiting for a fix for ages, I decided to see what I could do myself, and after some research I've edited the labels.lua file and got them back to where they were before they got broken, just put this file attached here at the bottom of this post.
C:\Users\*****\Saved Games\DCS\Config\View
some screens,
-
 1
1
-
-
Was a lot of fun,
-
 1
1
-
-
Woah missed this, I hope you had a great birthday FT, and had a thoroughly enjoyable day

-
 1
1
-
-
-
45 minutes ago, T_O_A_D said:
Thanks, Tom, I now have a Helicopter in my stable. It took me a bit to get it installed correctly. Due to the instructions on the web page, but their readme squared me away.
The Blackhawk mod is a very good helicopter mod as well, very different as is much more modern, and probably the easiest helicopter top learn to fly helicopters with,
-
 1
1
-
-
-
-
Using the Laydown mode in the F-4E with Snake eyes,
-
Somebody's learned how to use the Pave Spike and GBU's in the F-4E!!!
Somewhat harder than in other platforms, but very doable once you get used to the Pave Spikes foibles. Bombing an airfield from @15,000 feet.
-
After learning a few lessons along the way, like after jettisoning bags make sure you set the switch to fuel transfer off so it will then drain your wing tanks and not leave your Phantom flying like a brick, turning roll augmentation to off when dogfighting so you have full control over the rudder, and that generally Sparrows are great for making the enemy go defensive, and ever so occasionally may get you a kill, I'm starting to get some success and enjoy the challenge!
-
 2
2
-
-
-
-
This thread has some good info re the F4 radar and realistic expectations.
-
 1
1
-
-
If its the same as the Tomcat, you still have to tell where jester to look sometimes with the jester wheel, to specifically focus the search on to a certain piece of sky.
Also, if you were chasing and there was relatively little speed difference, you won't be able to get a lock, no matter what radar you have in DCS, due to how these radars work, as they will be in the notch. In that situation you either need to slow down or speed up to create a positive/negative closure rate, and get the targets out of the notch.
Most radars have different settings used depending whether the target is hot or cold as well, and being in the wrong prf greatly reduces detection chance, if your radar is set for hot targets and they're cold for example (hot target is coming towards you, cold target is flying away from you). Jester can need a prod in the right direction with this sometimes.
Re sidewinder, no idea....
-
 1
1
-
-

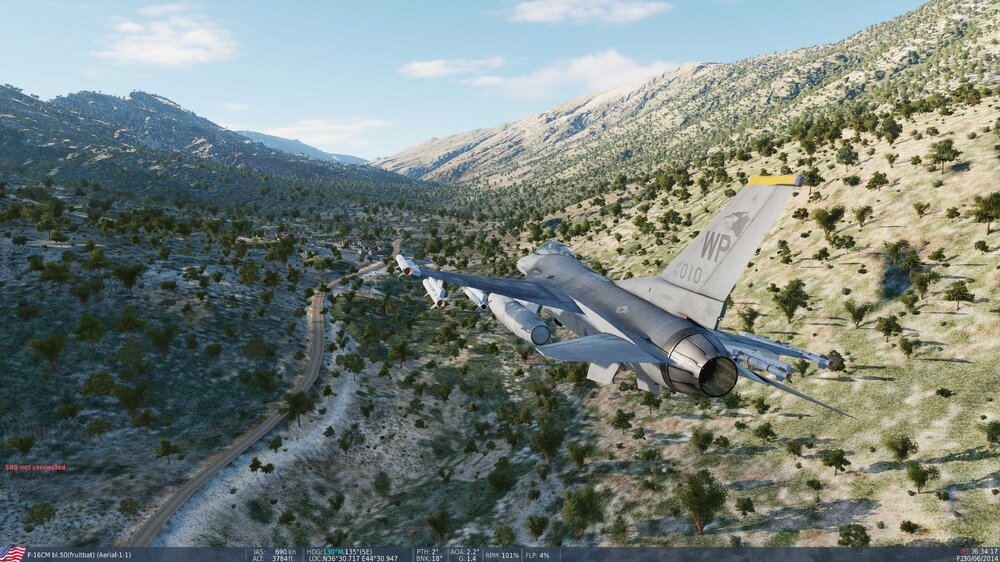
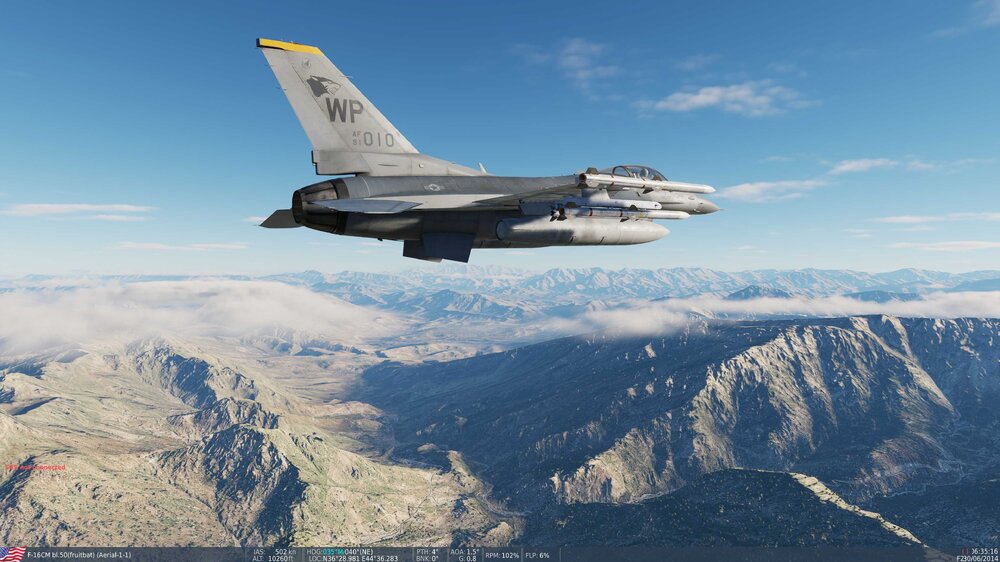
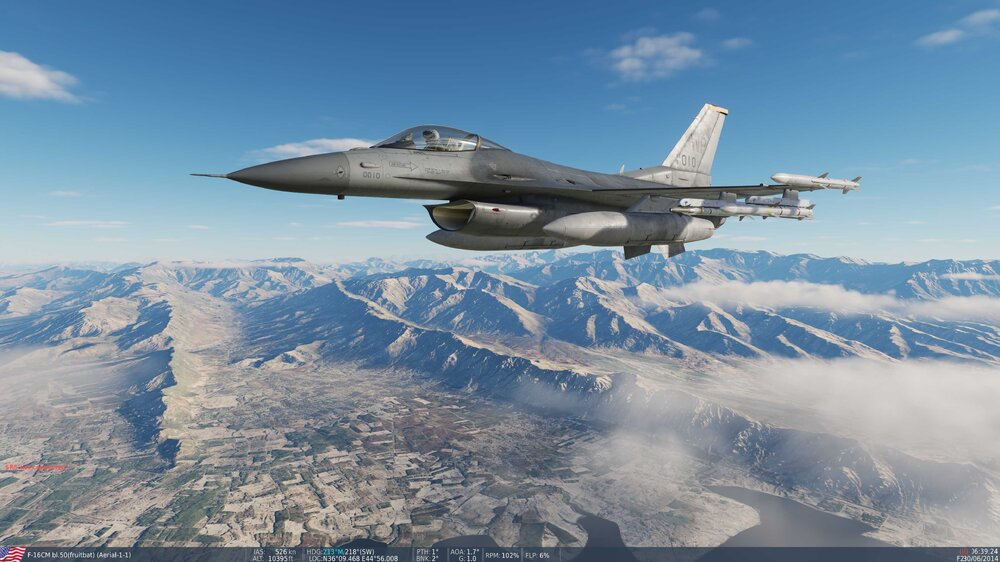
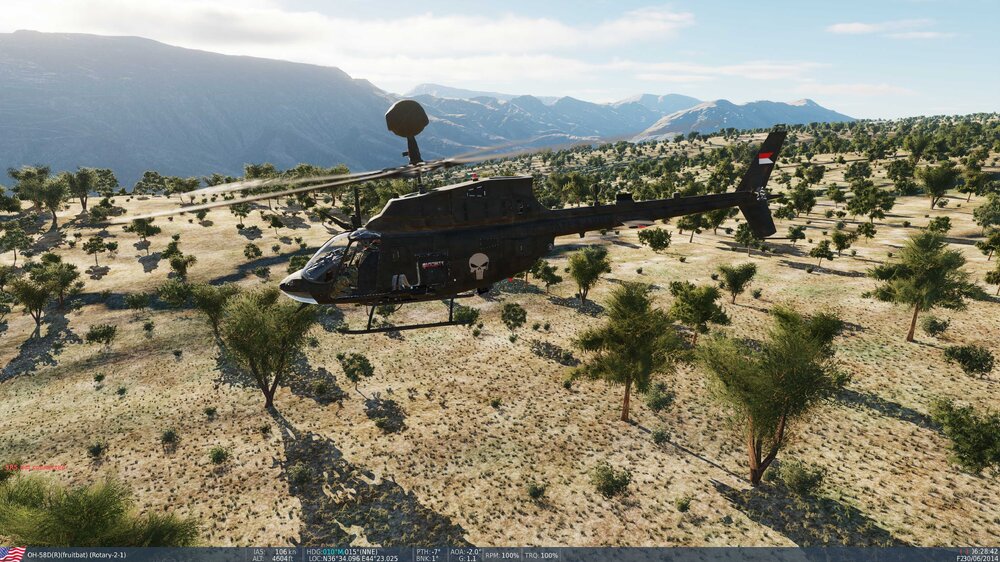
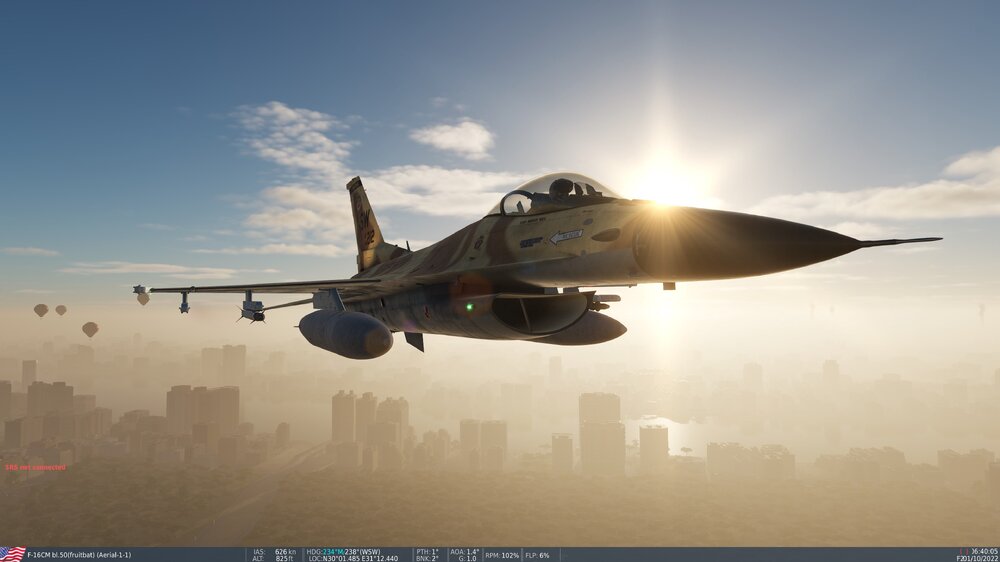
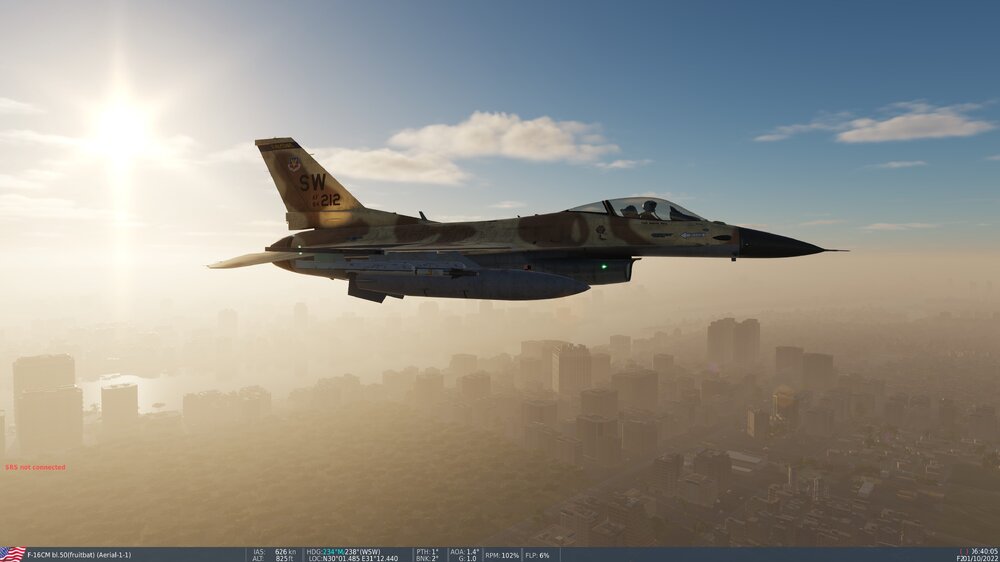
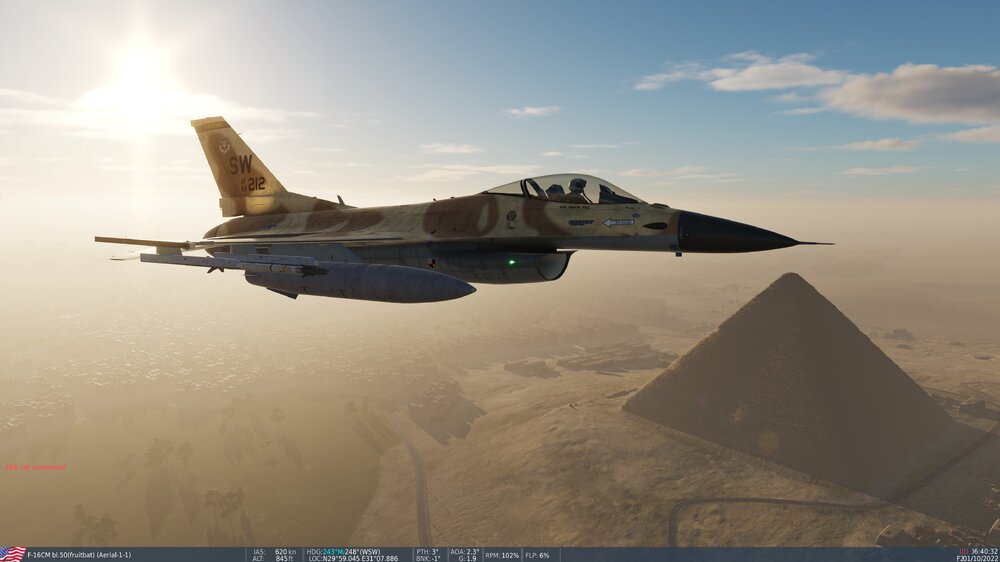

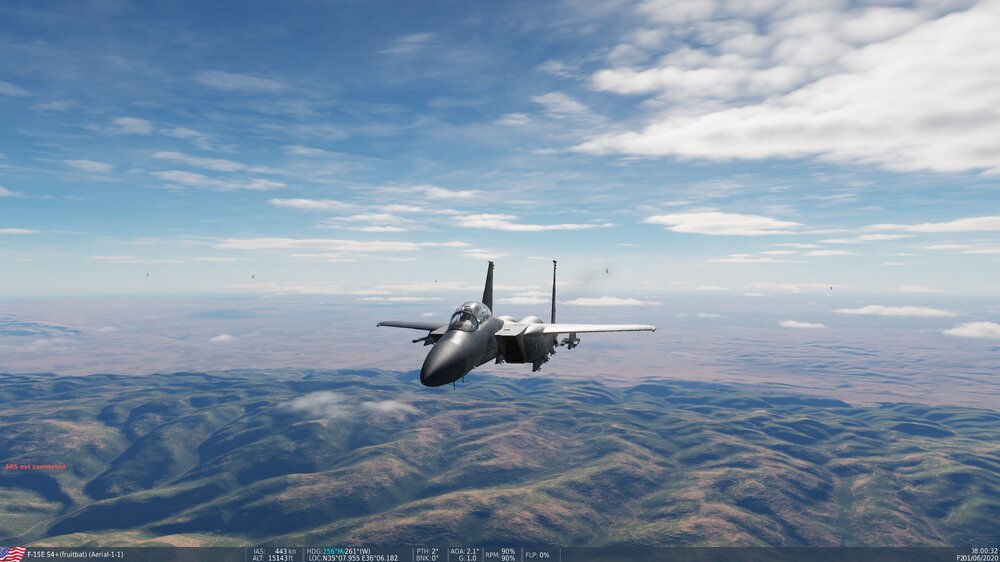

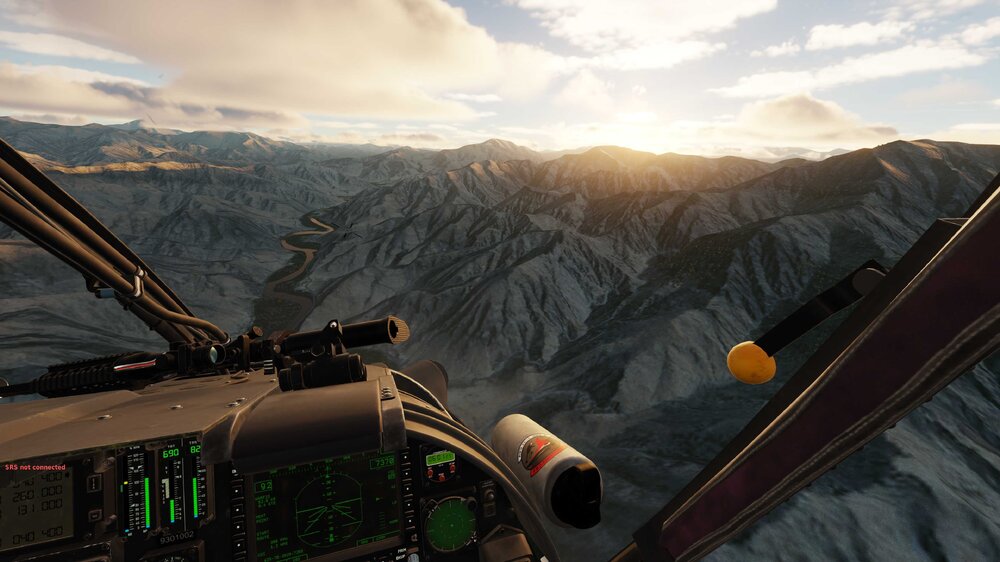
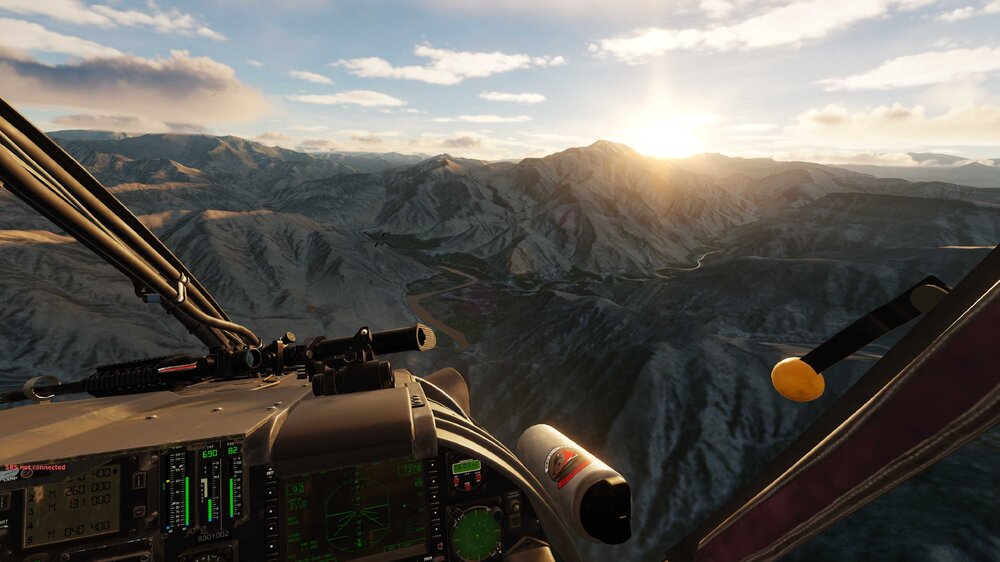
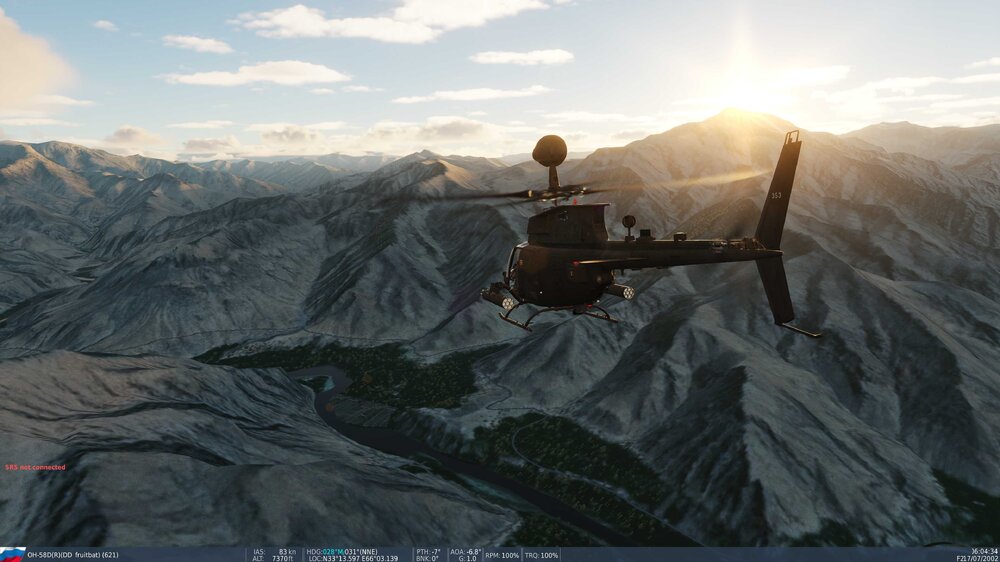
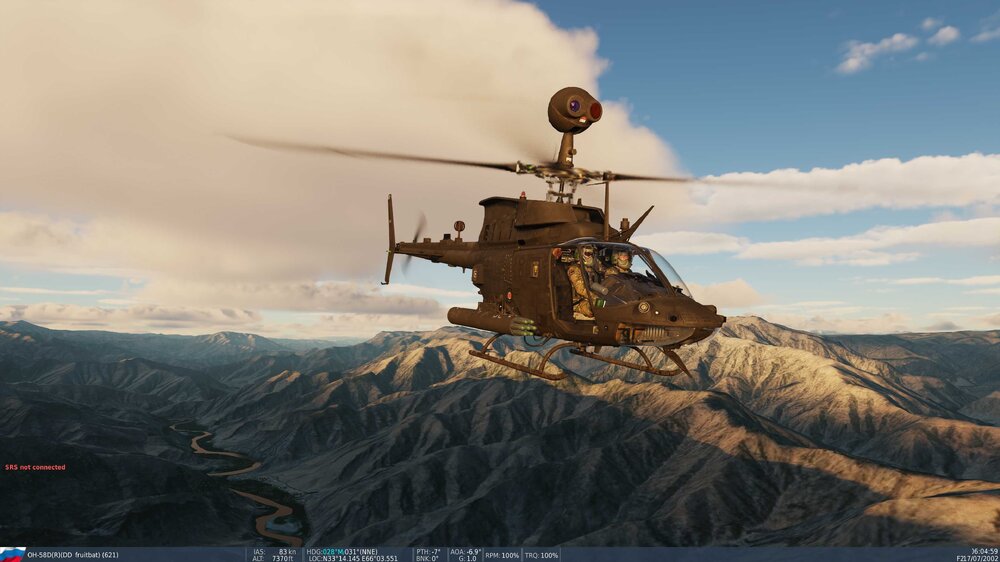
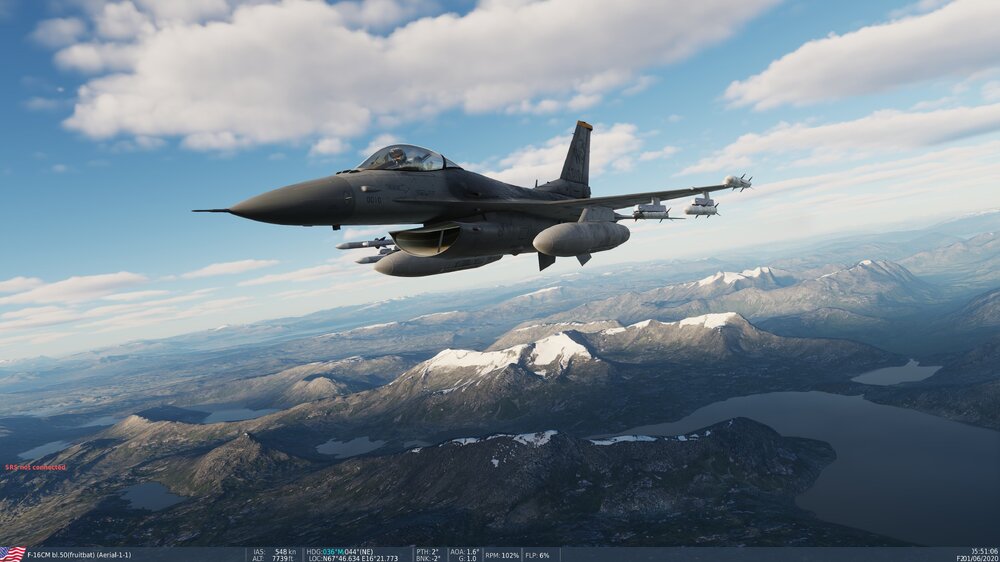
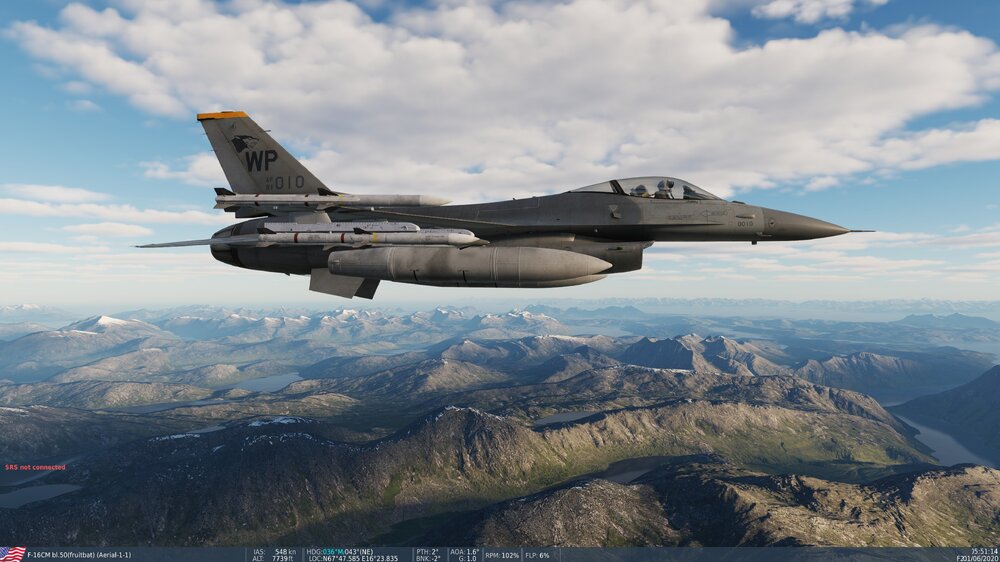
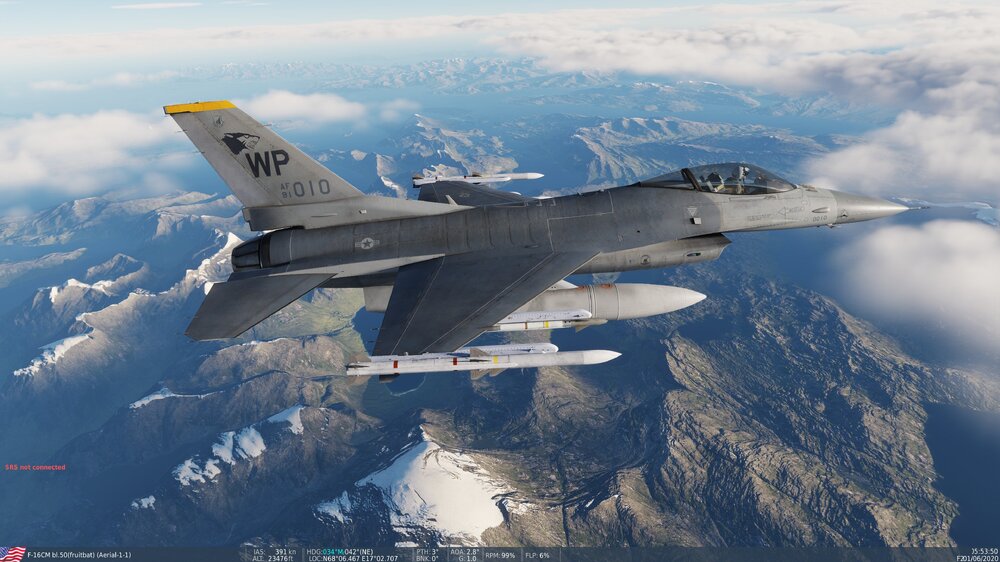
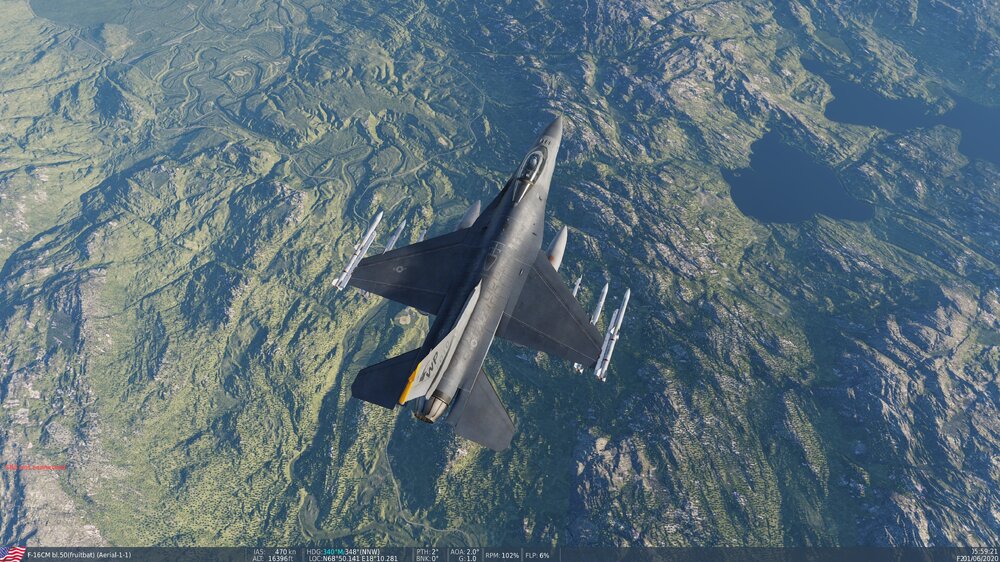
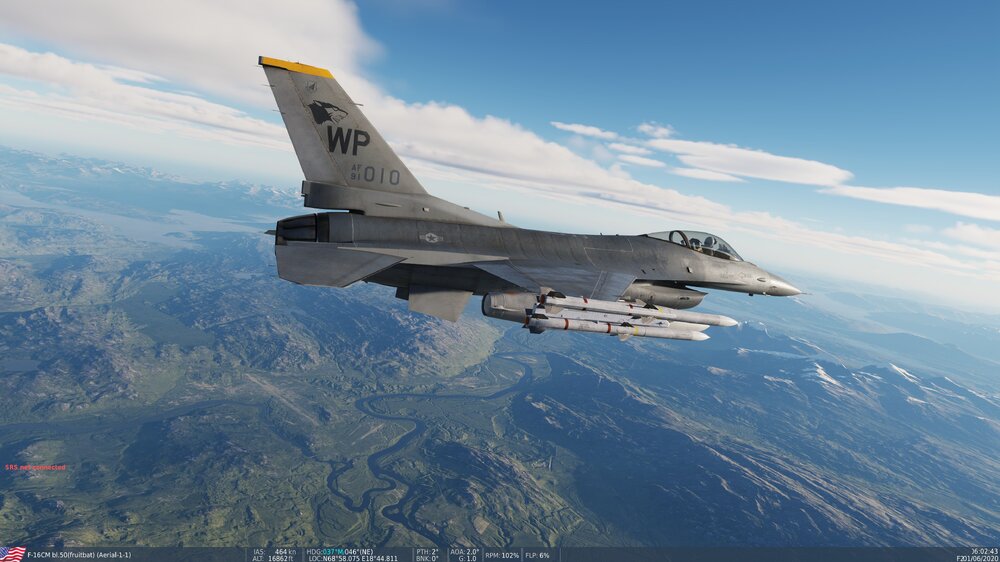
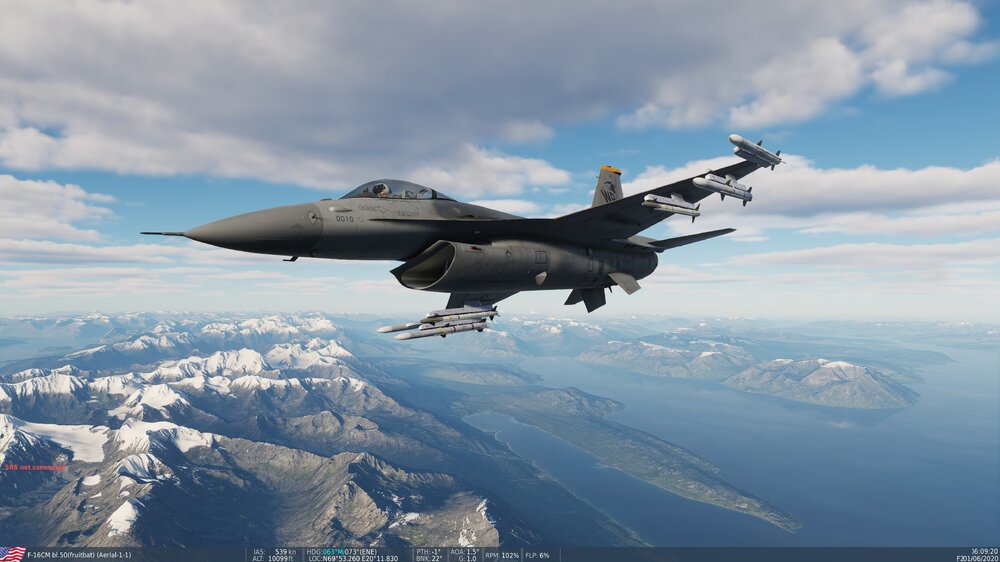
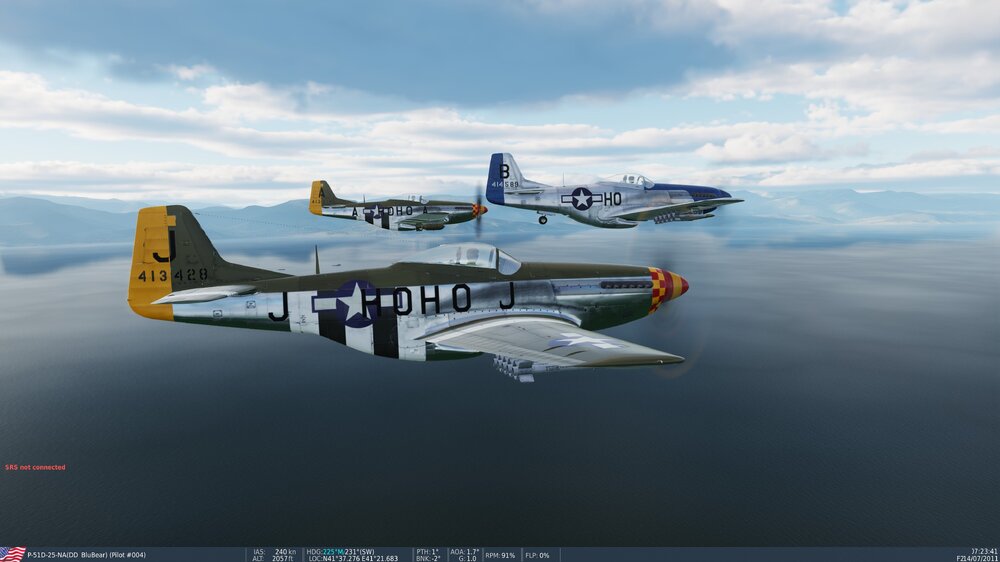
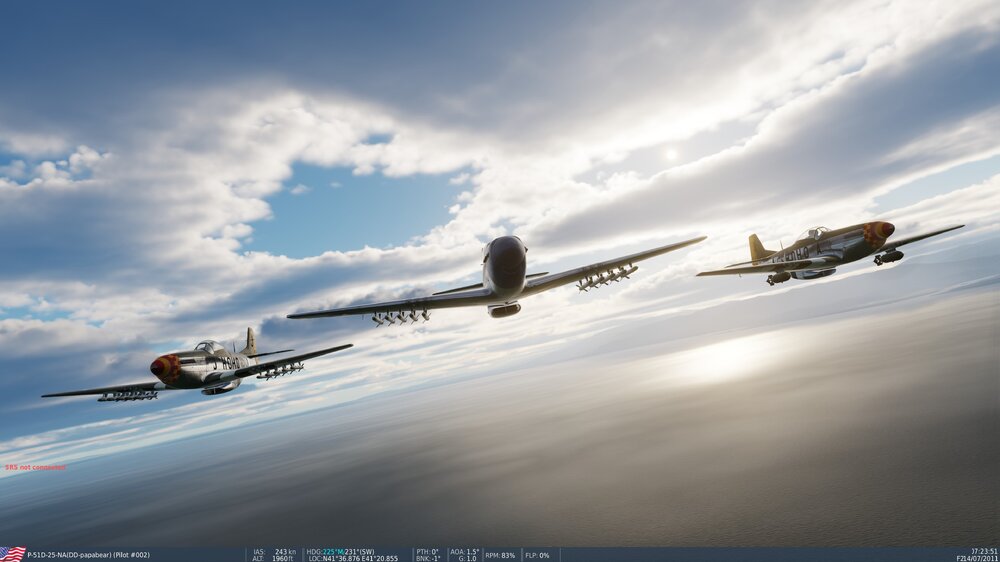
Any news/thoughts on 2025 airshow meet ups?
in Jim's Place
Posted
I'd like to go to one of them this year👍