
Crash
Content Type
Profiles
Forums
Downloads
Gallery
Events
Articles
Everything posted by Crash
-
Get well soon Wingy (I didnt need to see that)
-
Parts used plastic box https://www.amazon.co.uk/dp/B09TXN1XGB?psc=1&ref=ppx_pop_dt_b_product_details Leonardo https://www.amazon.co.uk/dp/B0786LJQ8K?psc=1&ref=ppx_pop_dt_b_product_details Switch for trim https://www.amazon.co.uk/dp/B08HR89VPP?psc=1&ref=ppx_yo2ov_dt_b_product_details Mount for damper https://www.amazon.co.uk/dp/B0826451QK?psc=1&ref=ppx_pop_dt_b_product_details Switches https://www.amazon.co.uk/dp/B07RR9BY8C?psc=1&ref=ppx_pop_dt_b_product_details Top mount for damper https://www.amazon.co.uk/dp/B0BYS5GJHB?psc=1&ref=ppx_pop_dt_b_product_details belt for throttle https://www.ebay.co.uk/itm/283194907394?var=583606854950 bearings for collective lever https://www.amazon.co.uk/dp/B08RJWWVMR?psc=1&ref=ppx_yo2ov_dt_b_product_details mounting bracket for throttle https://www.amazon.co.uk/dp/B01M0FREOF?psc=1&ref=ppx_yo2ov_dt_b_product_details Mount for switch box https://www.ebay.co.uk/itm/394081382370 small box for mini stick https://www.ebay.co.uk/itm/262466744840?var=563567654532 damper https://www.ebay.co.uk/itm/314401619357 throttle https://www.ebay.co.uk/itm/195258352527 Tube https://www.ebay.co.uk/itm/192866490261?var=493005102506 Mini joystick https://www.ebay.co.uk/itm/361695634810 Wire https://www.amazon.co.uk/dp/B098WVG189?psc=1&ref=ppx_yo2ov_dt_b_product_details header pins https://www.amazon.co.uk/dp/B01F558ASI?psc=1&ref=ppx_pop_dt_b_product_details heat shrink tube https://www.amazon.co.uk/D-Orange-Pieces-Electrical-Insulation-Waterproof/dp/B08NYLLG6R/ref=sr_1_27?crid=2E7E9YE1DMA50&keywords=heat+shrink+sleeving&qid=1688392319&sprefix=heat+sh%2Caps%2C74&sr=8-27 various bolt, nuts ,angle brackets etc and some 10mm MDF Tools needed Soldering iron https://www.amazon.co.uk/dp/B0BTVGM6S8?psc=1&ref=ppx_pop_dt_b_product_details tip tinner https://www.amazon.co.uk/dp/B00NS4J6BY?psc=1&ref=ppx_pop_dt_b_product_details soldering iron cleaner https://www.amazon.co.uk/dp/B078W83G55?psc=1&ref=ppx_pop_dt_b_product_details wire stipper https://www.amazon.co.uk/dp/B0B4SC1B9R?psc=1&ref=ppx_pop_dt_b_product_details step drill https://www.amazon.co.uk/dp/B074ZR6RTY?psc=1&ref=ppx_pop_dt_b_product_details Helping hands https://www.amazon.co.uk/Rolson-Tools-60335-Helping-Magnifying/dp/B001BMSBD4/ref=sr_1_5?crid=3L5FJ1WH15OL2&keywords=helping+hands&qid=1688392419&sprefix=helping%2Caps%2C71&sr=8-5 a router table would of helped with making the case and pillar drill to ensure the holes on the side of the case line up and are square to the side. a video about arduino and the .ino file plus how to rename the board. Any questions or advice, just ask.
-
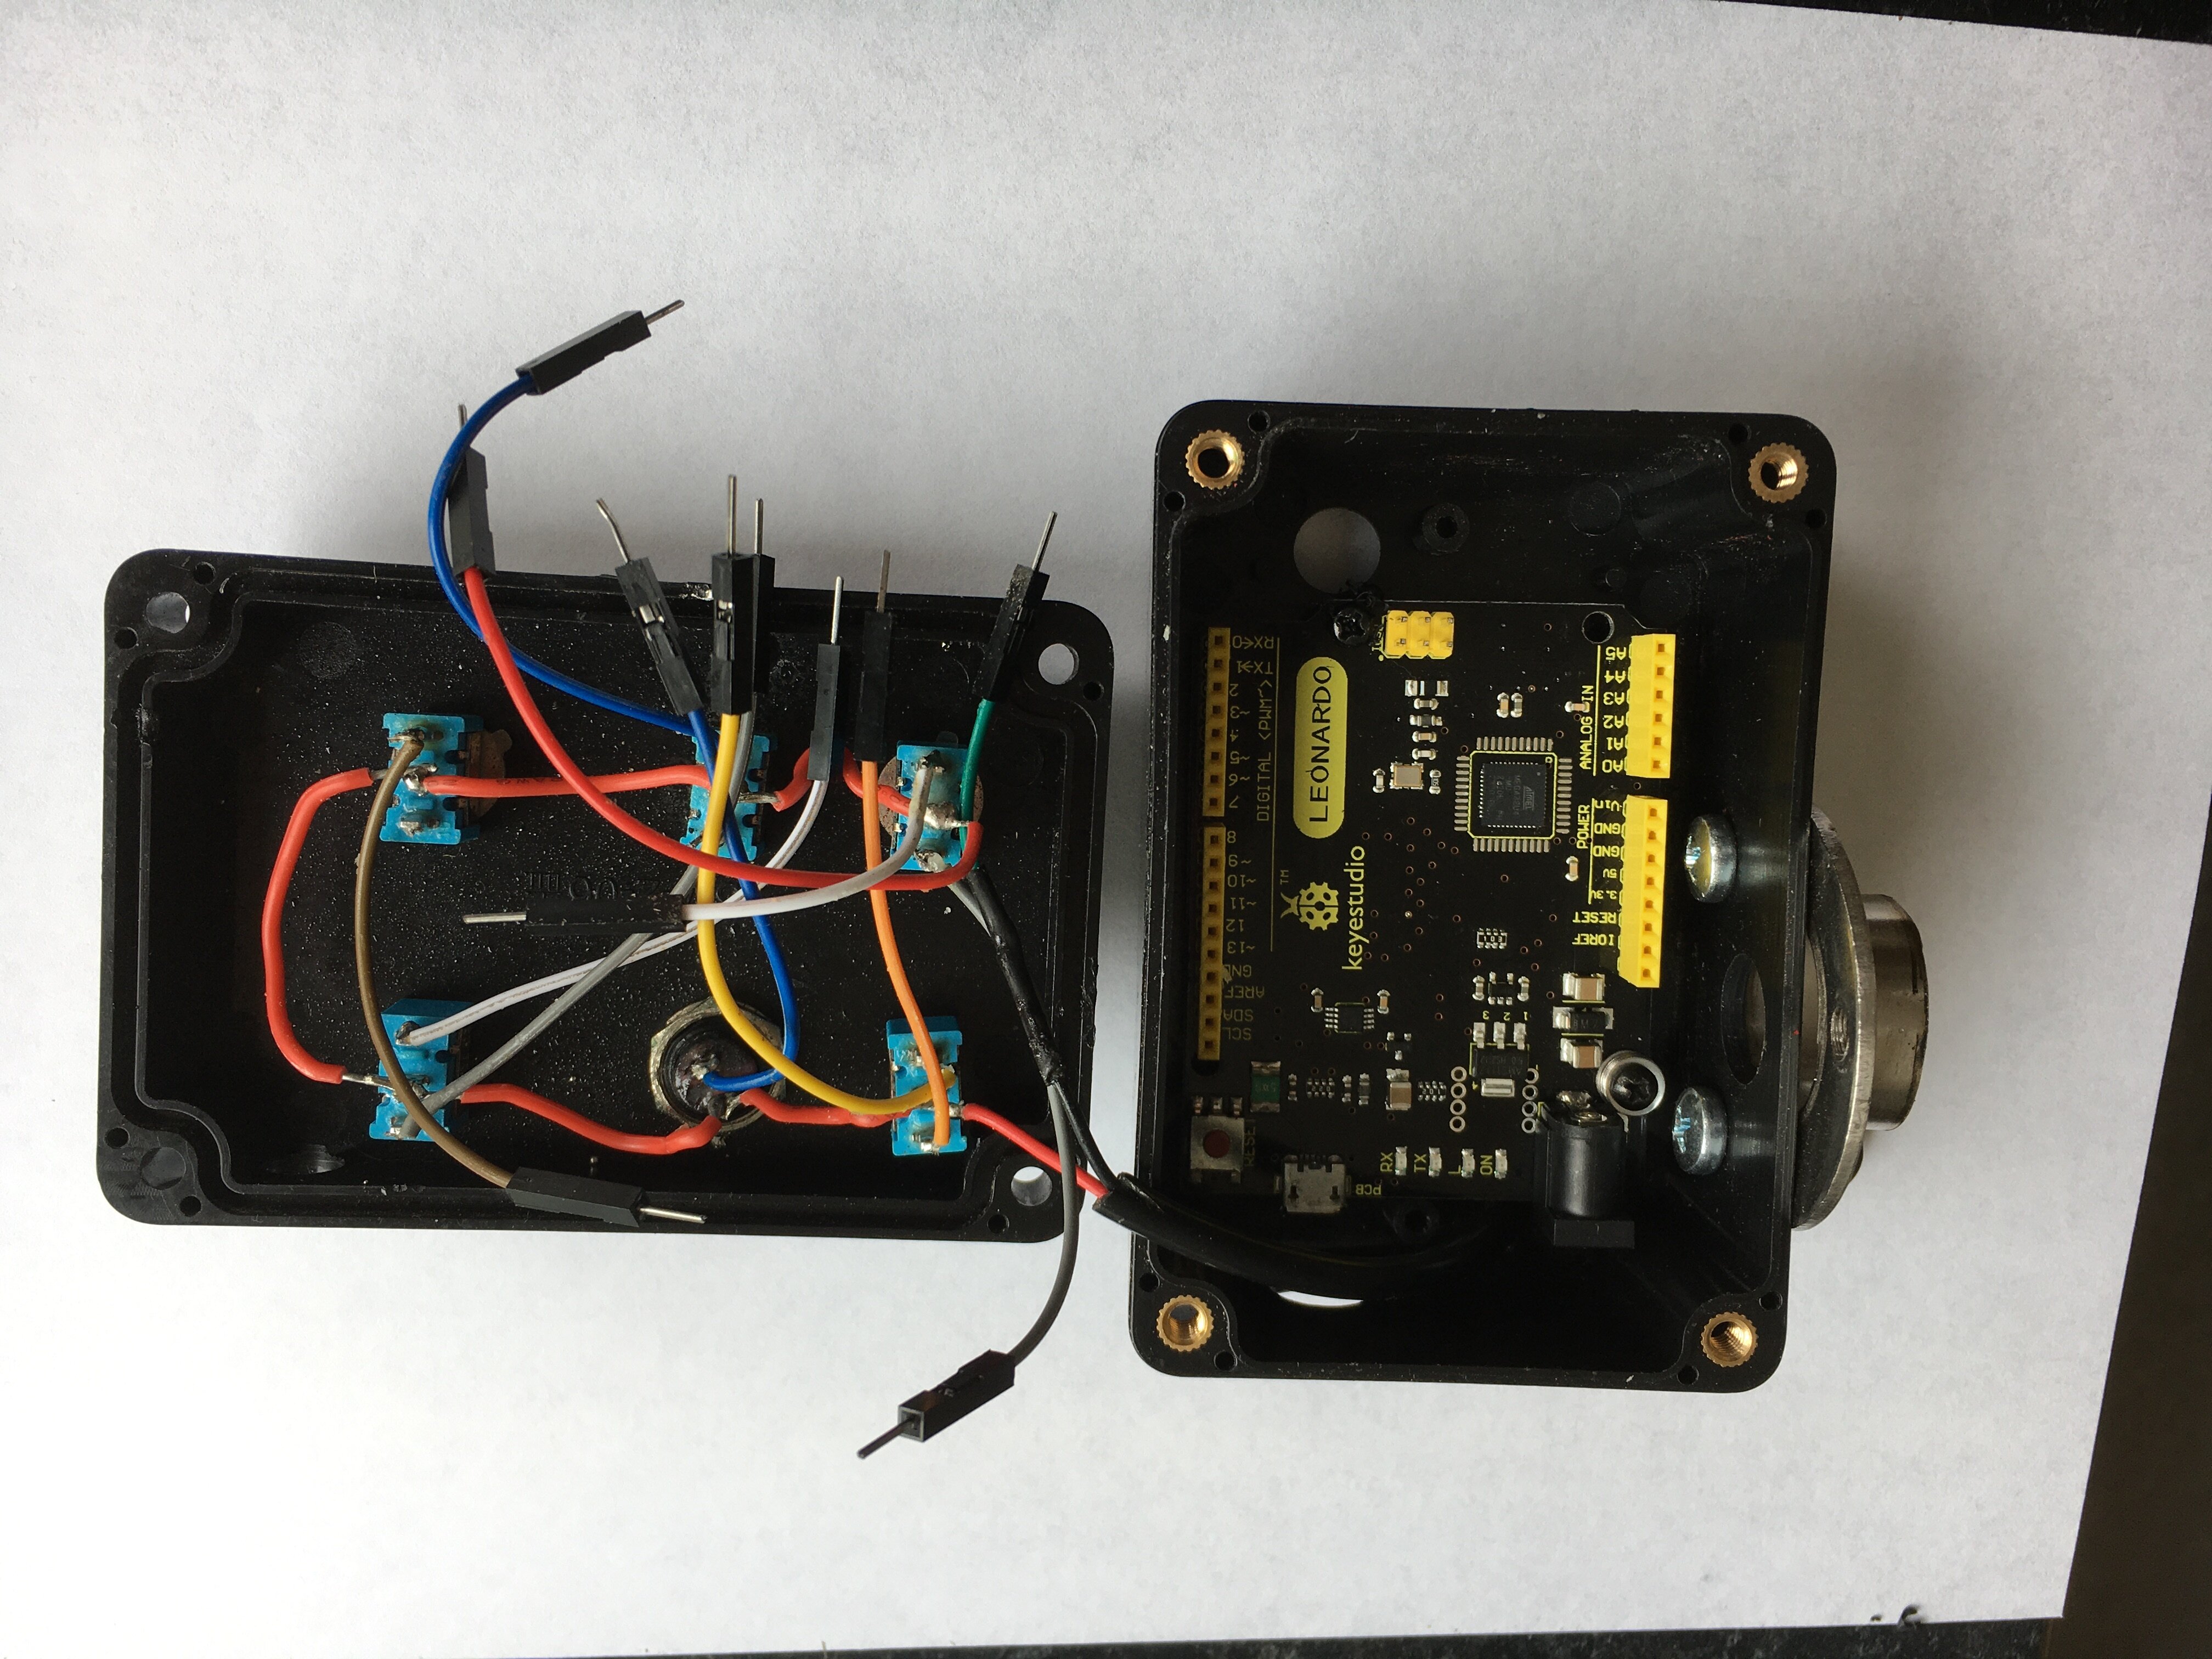
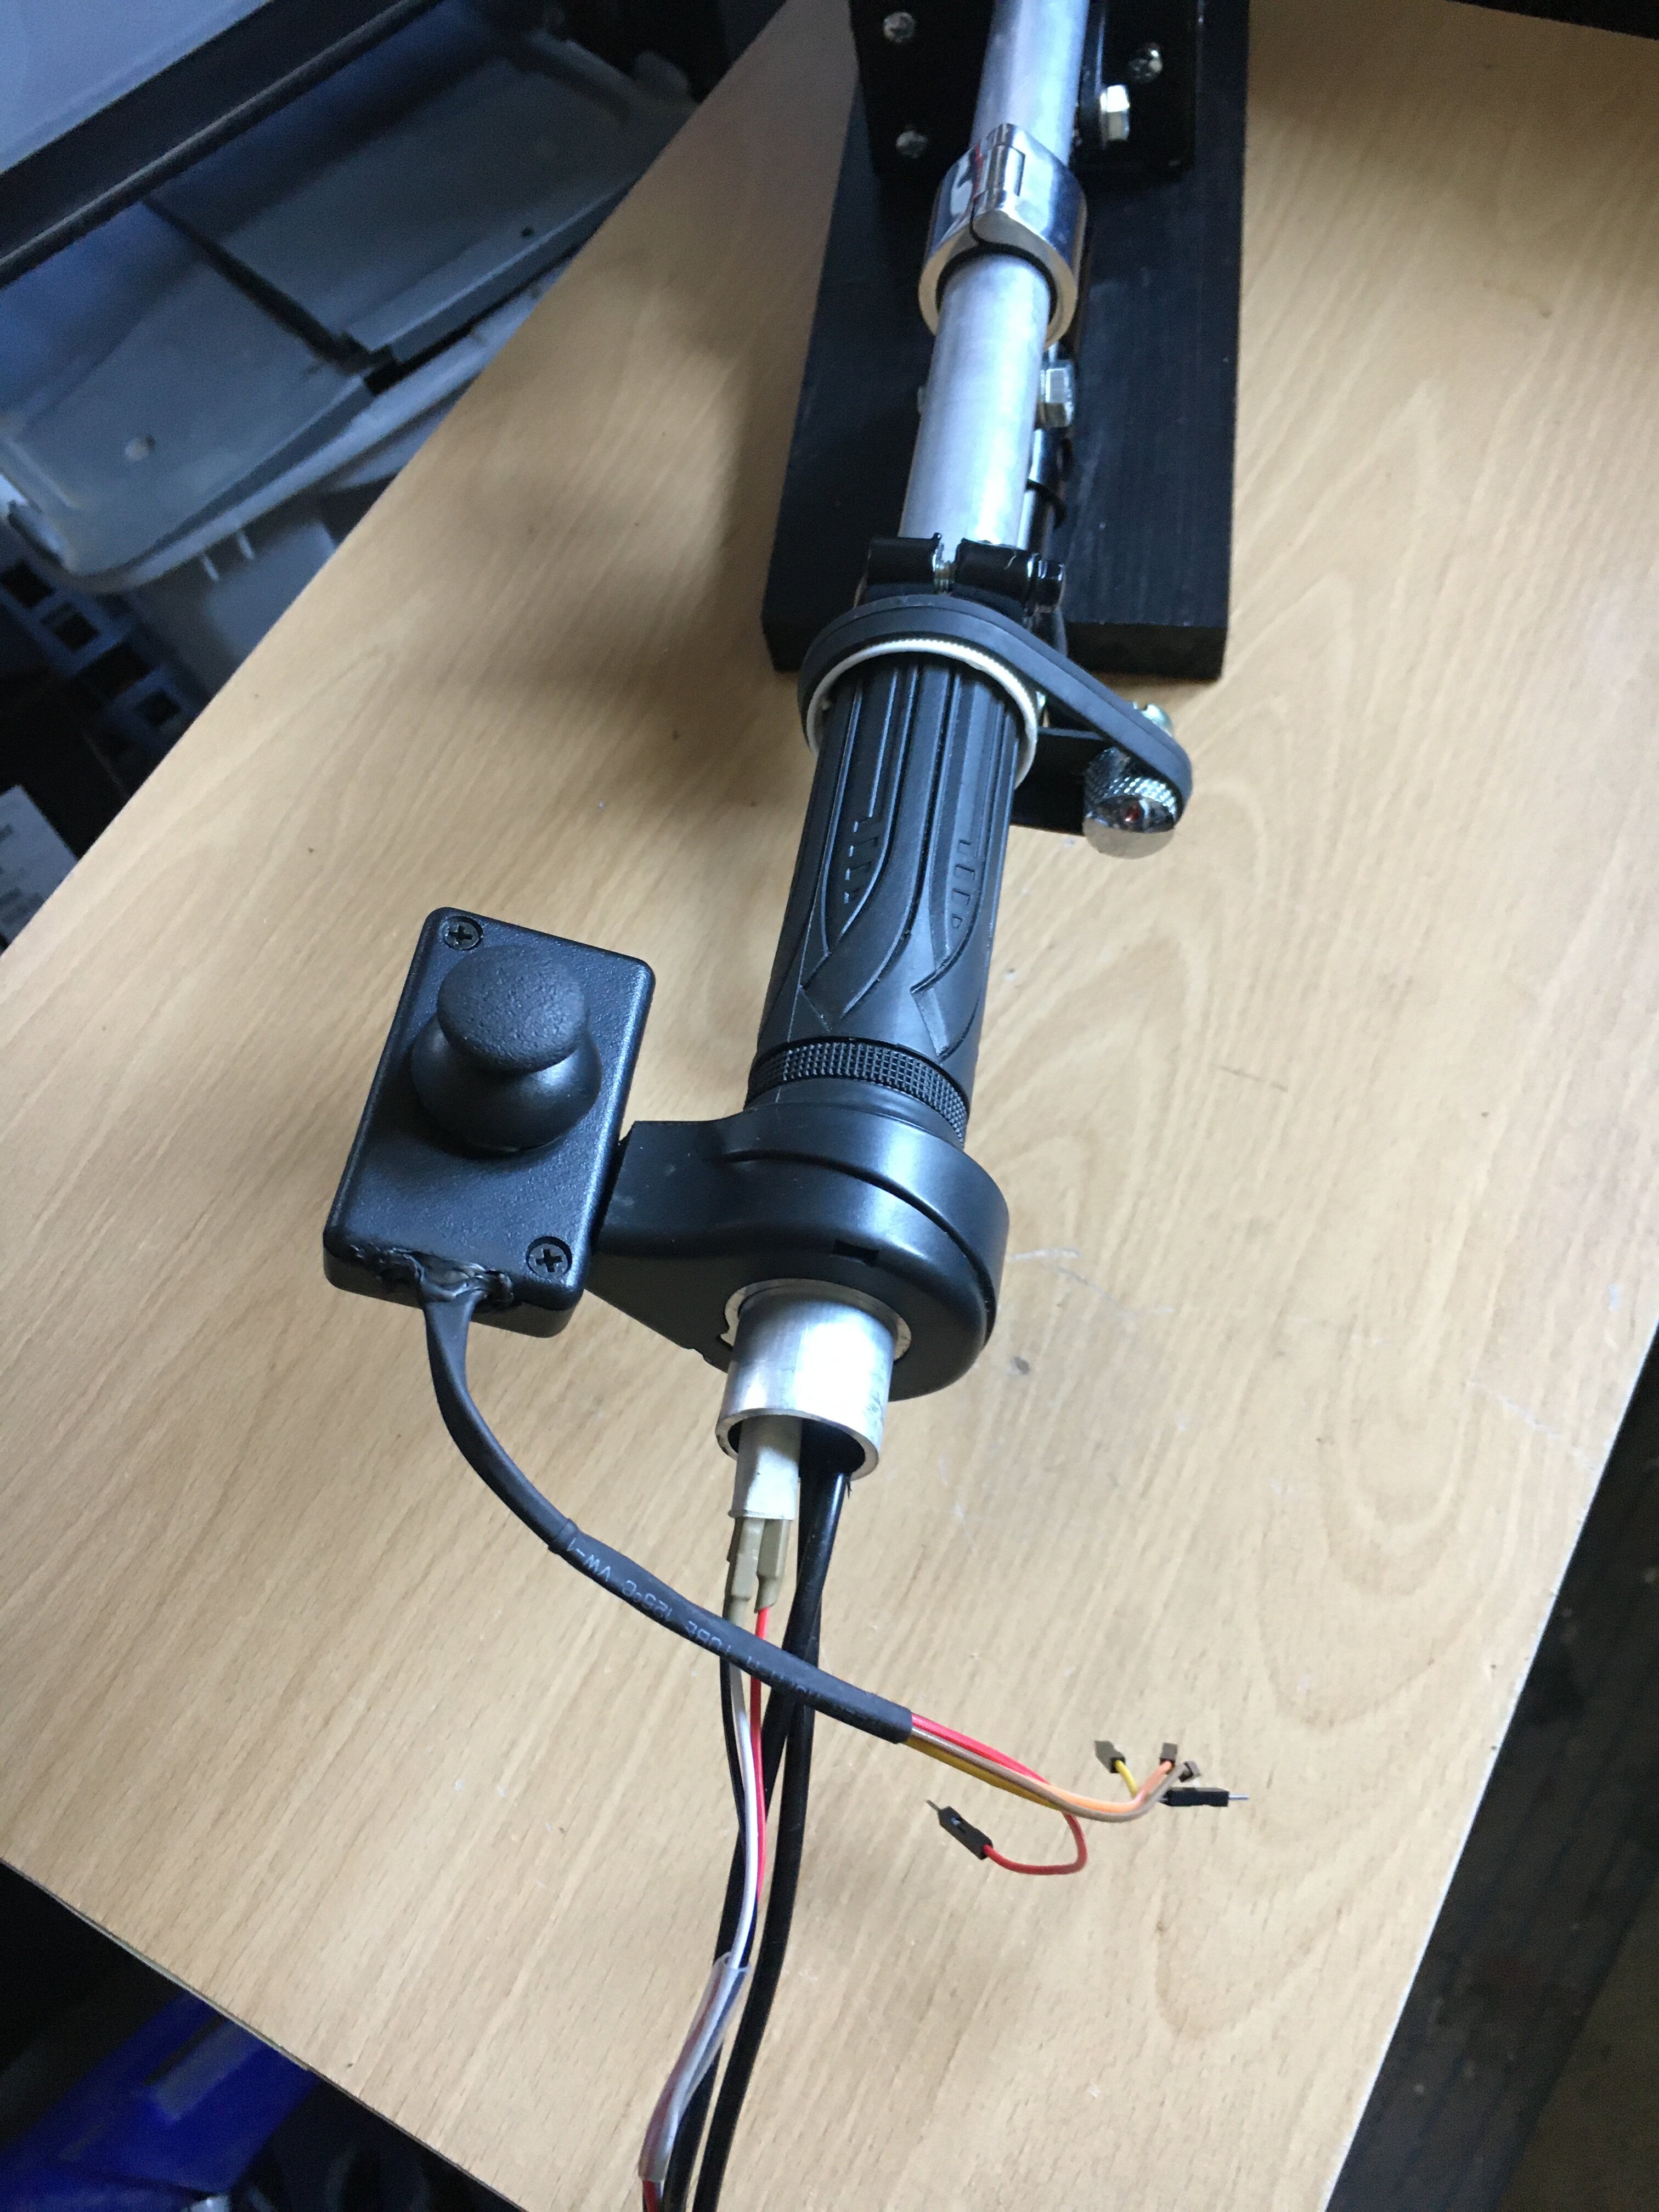
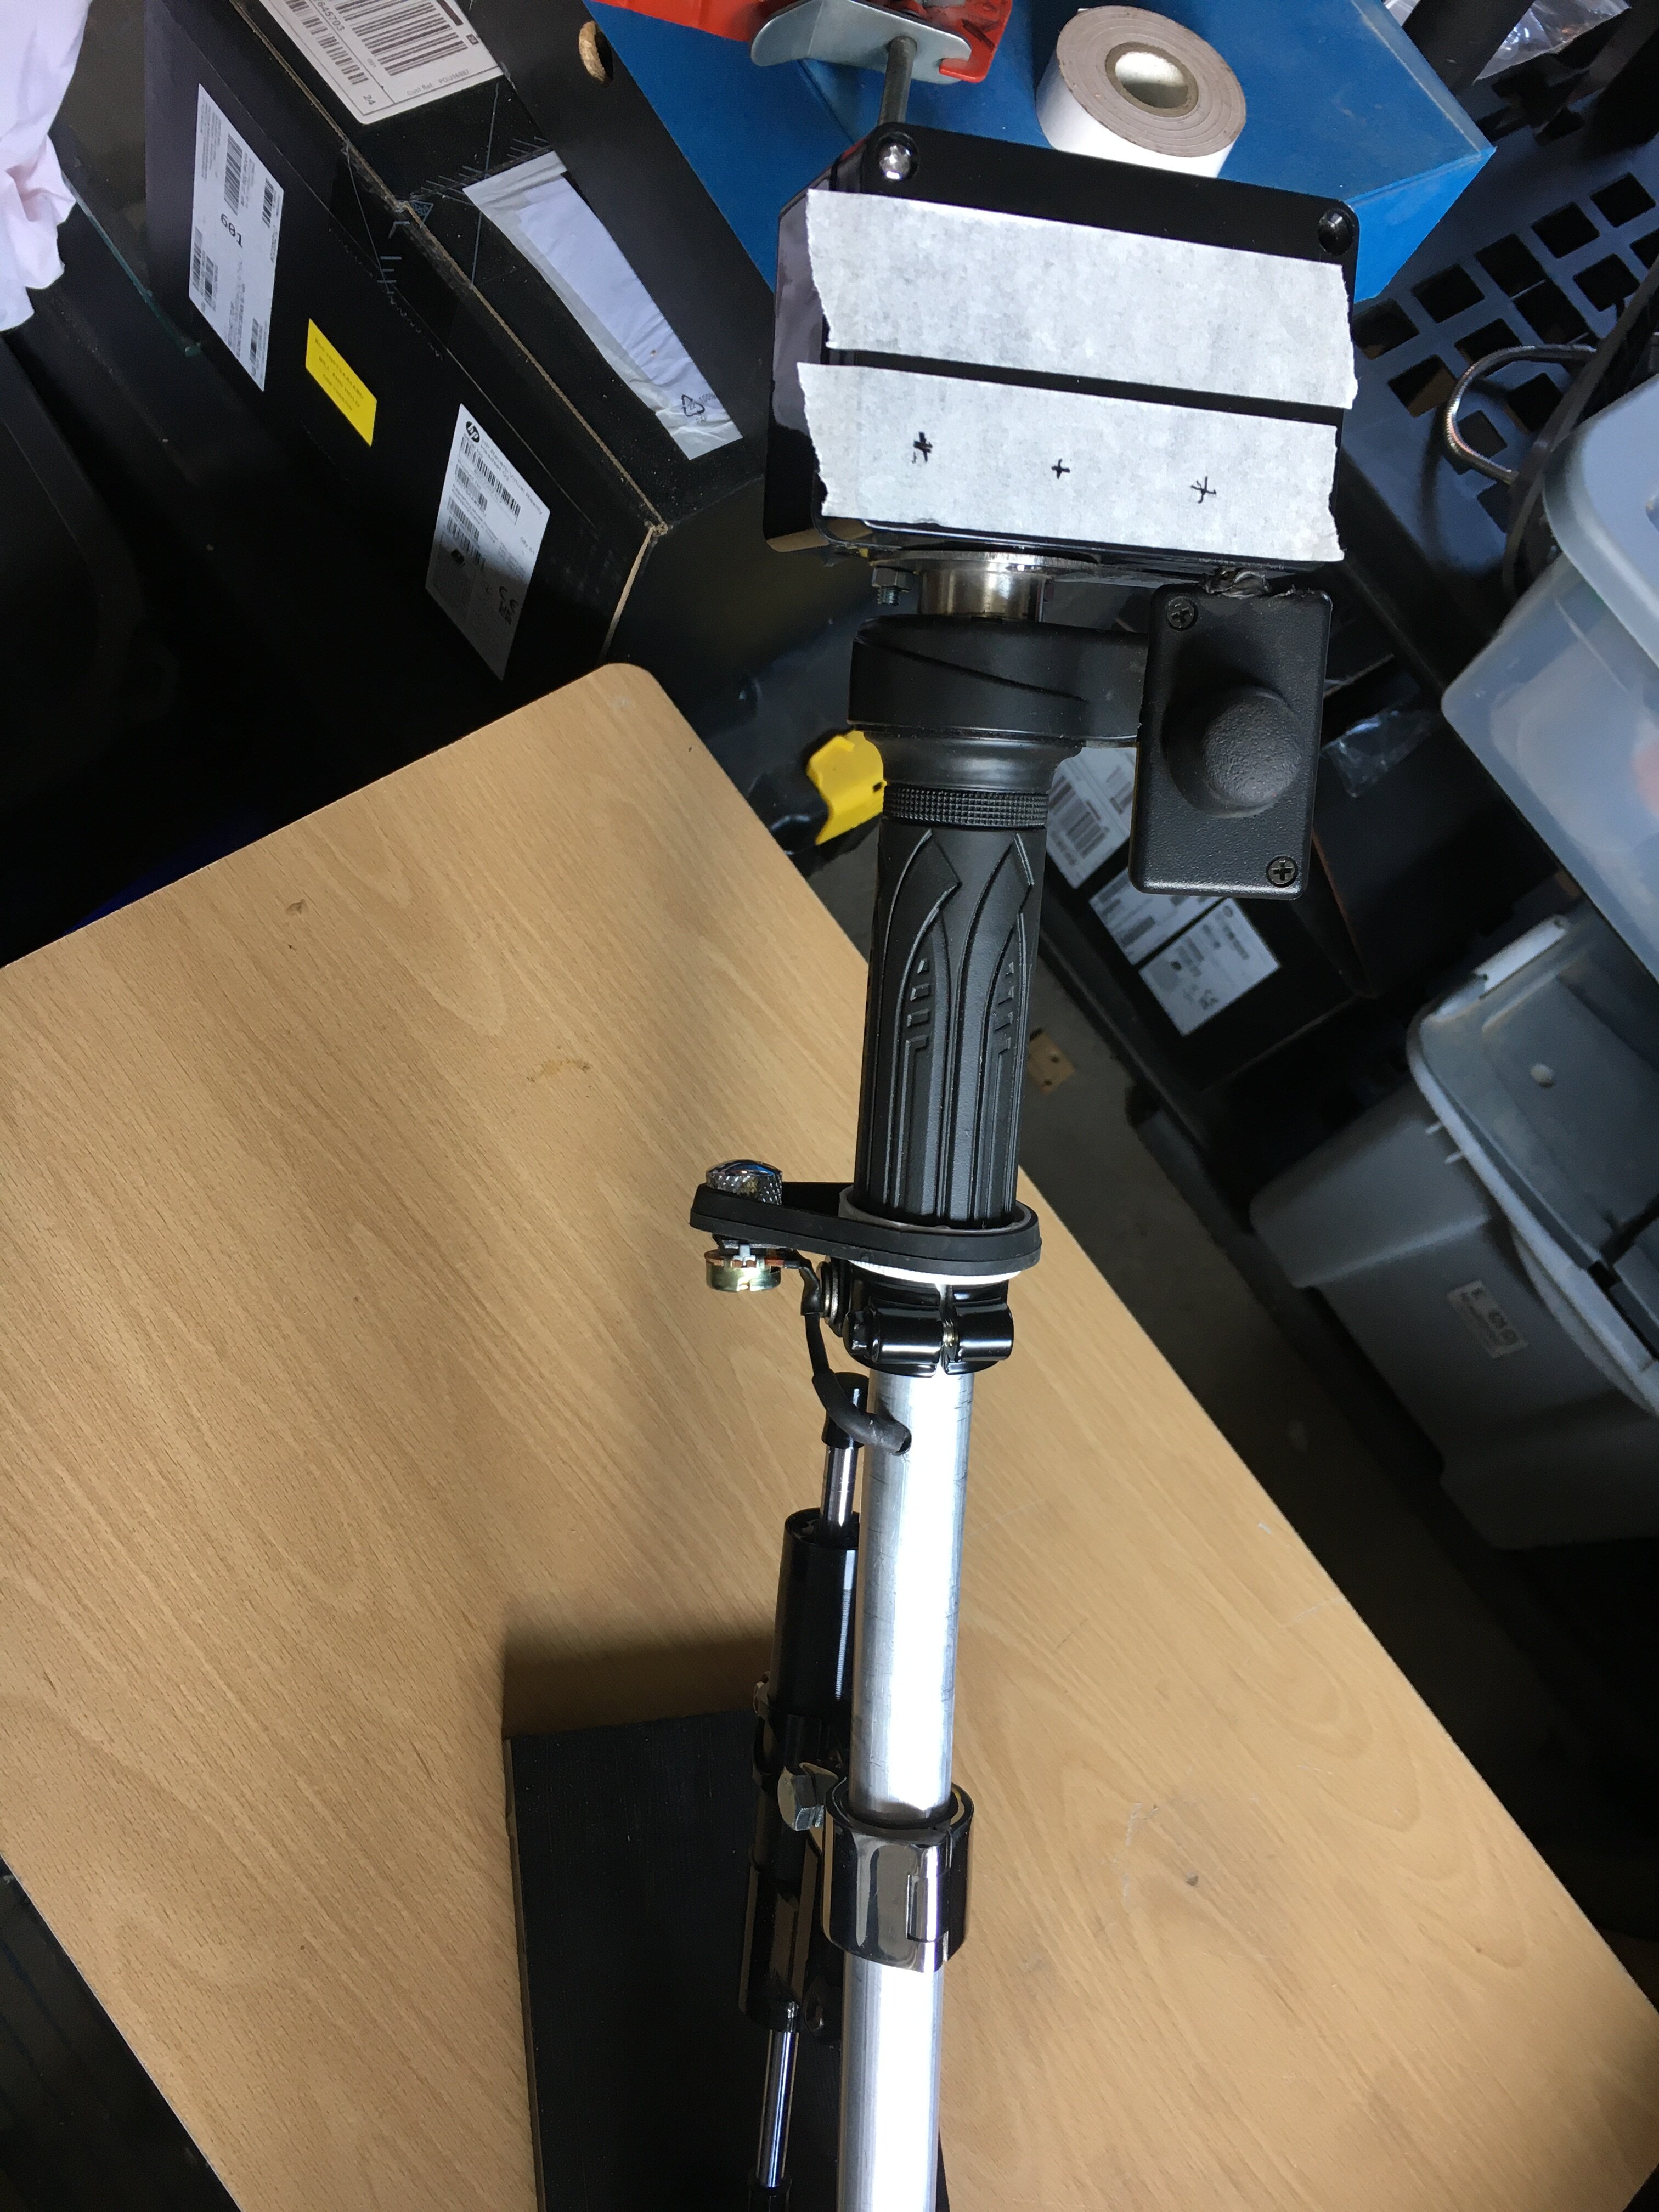
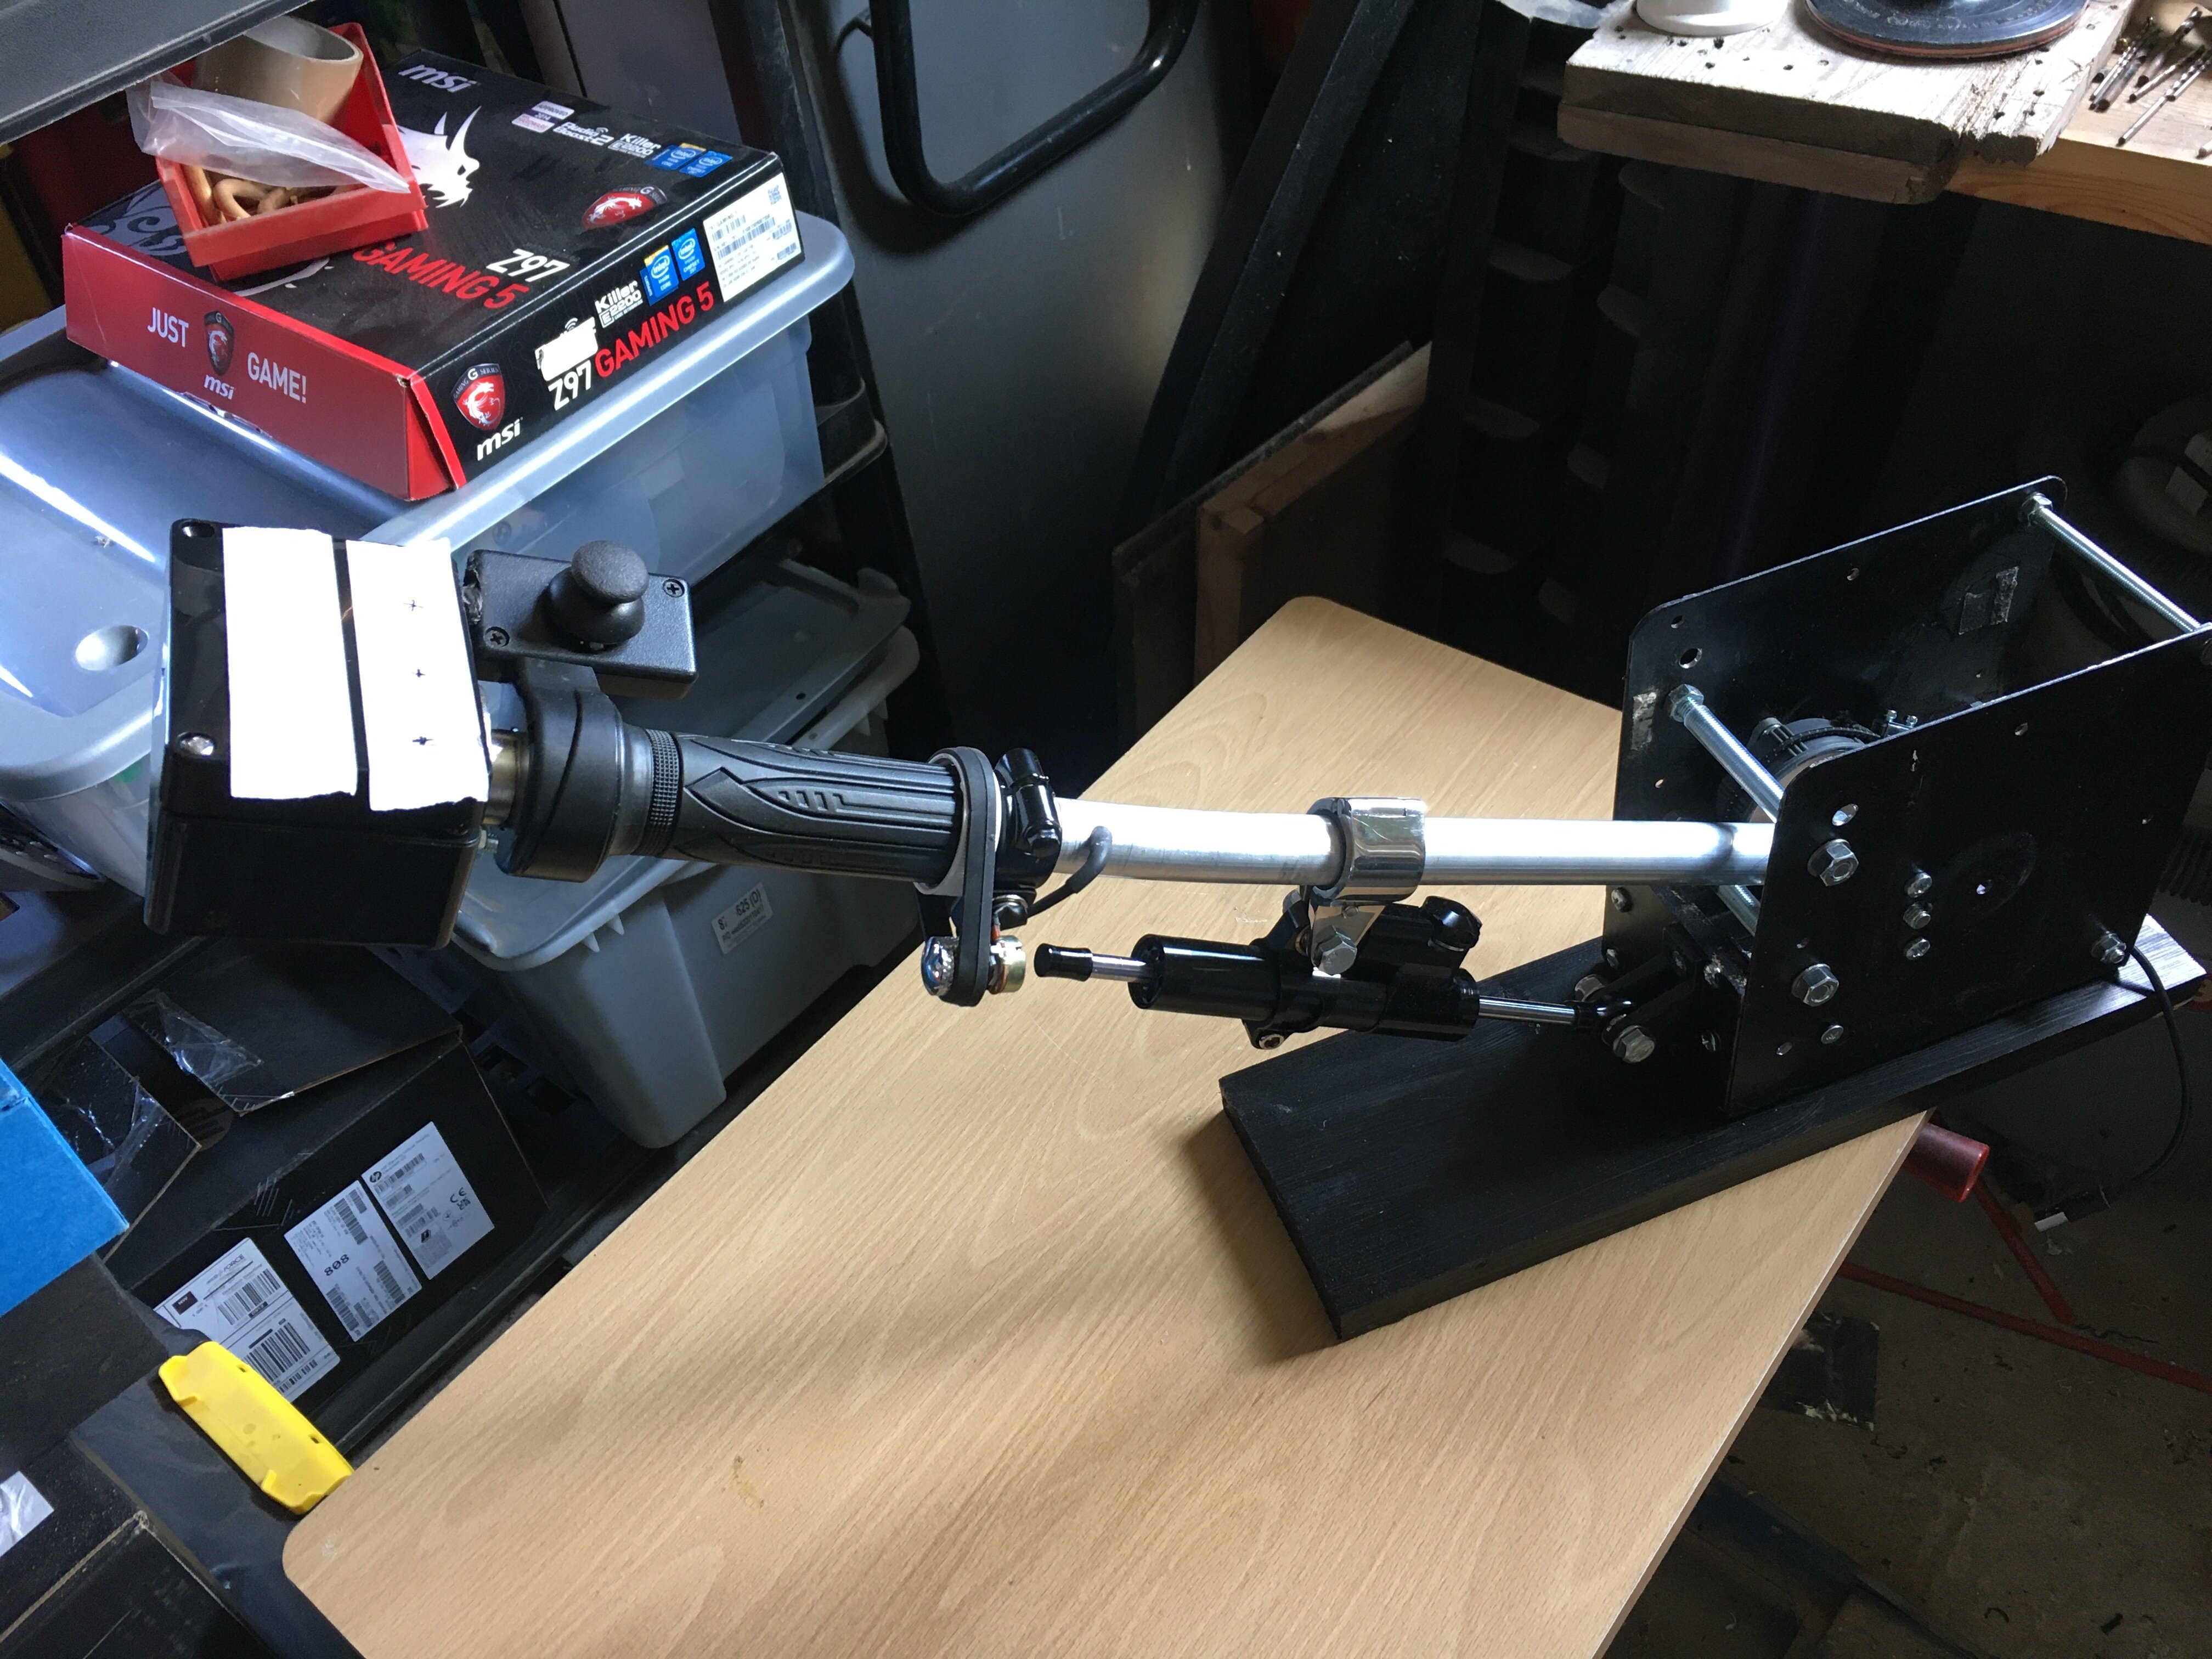
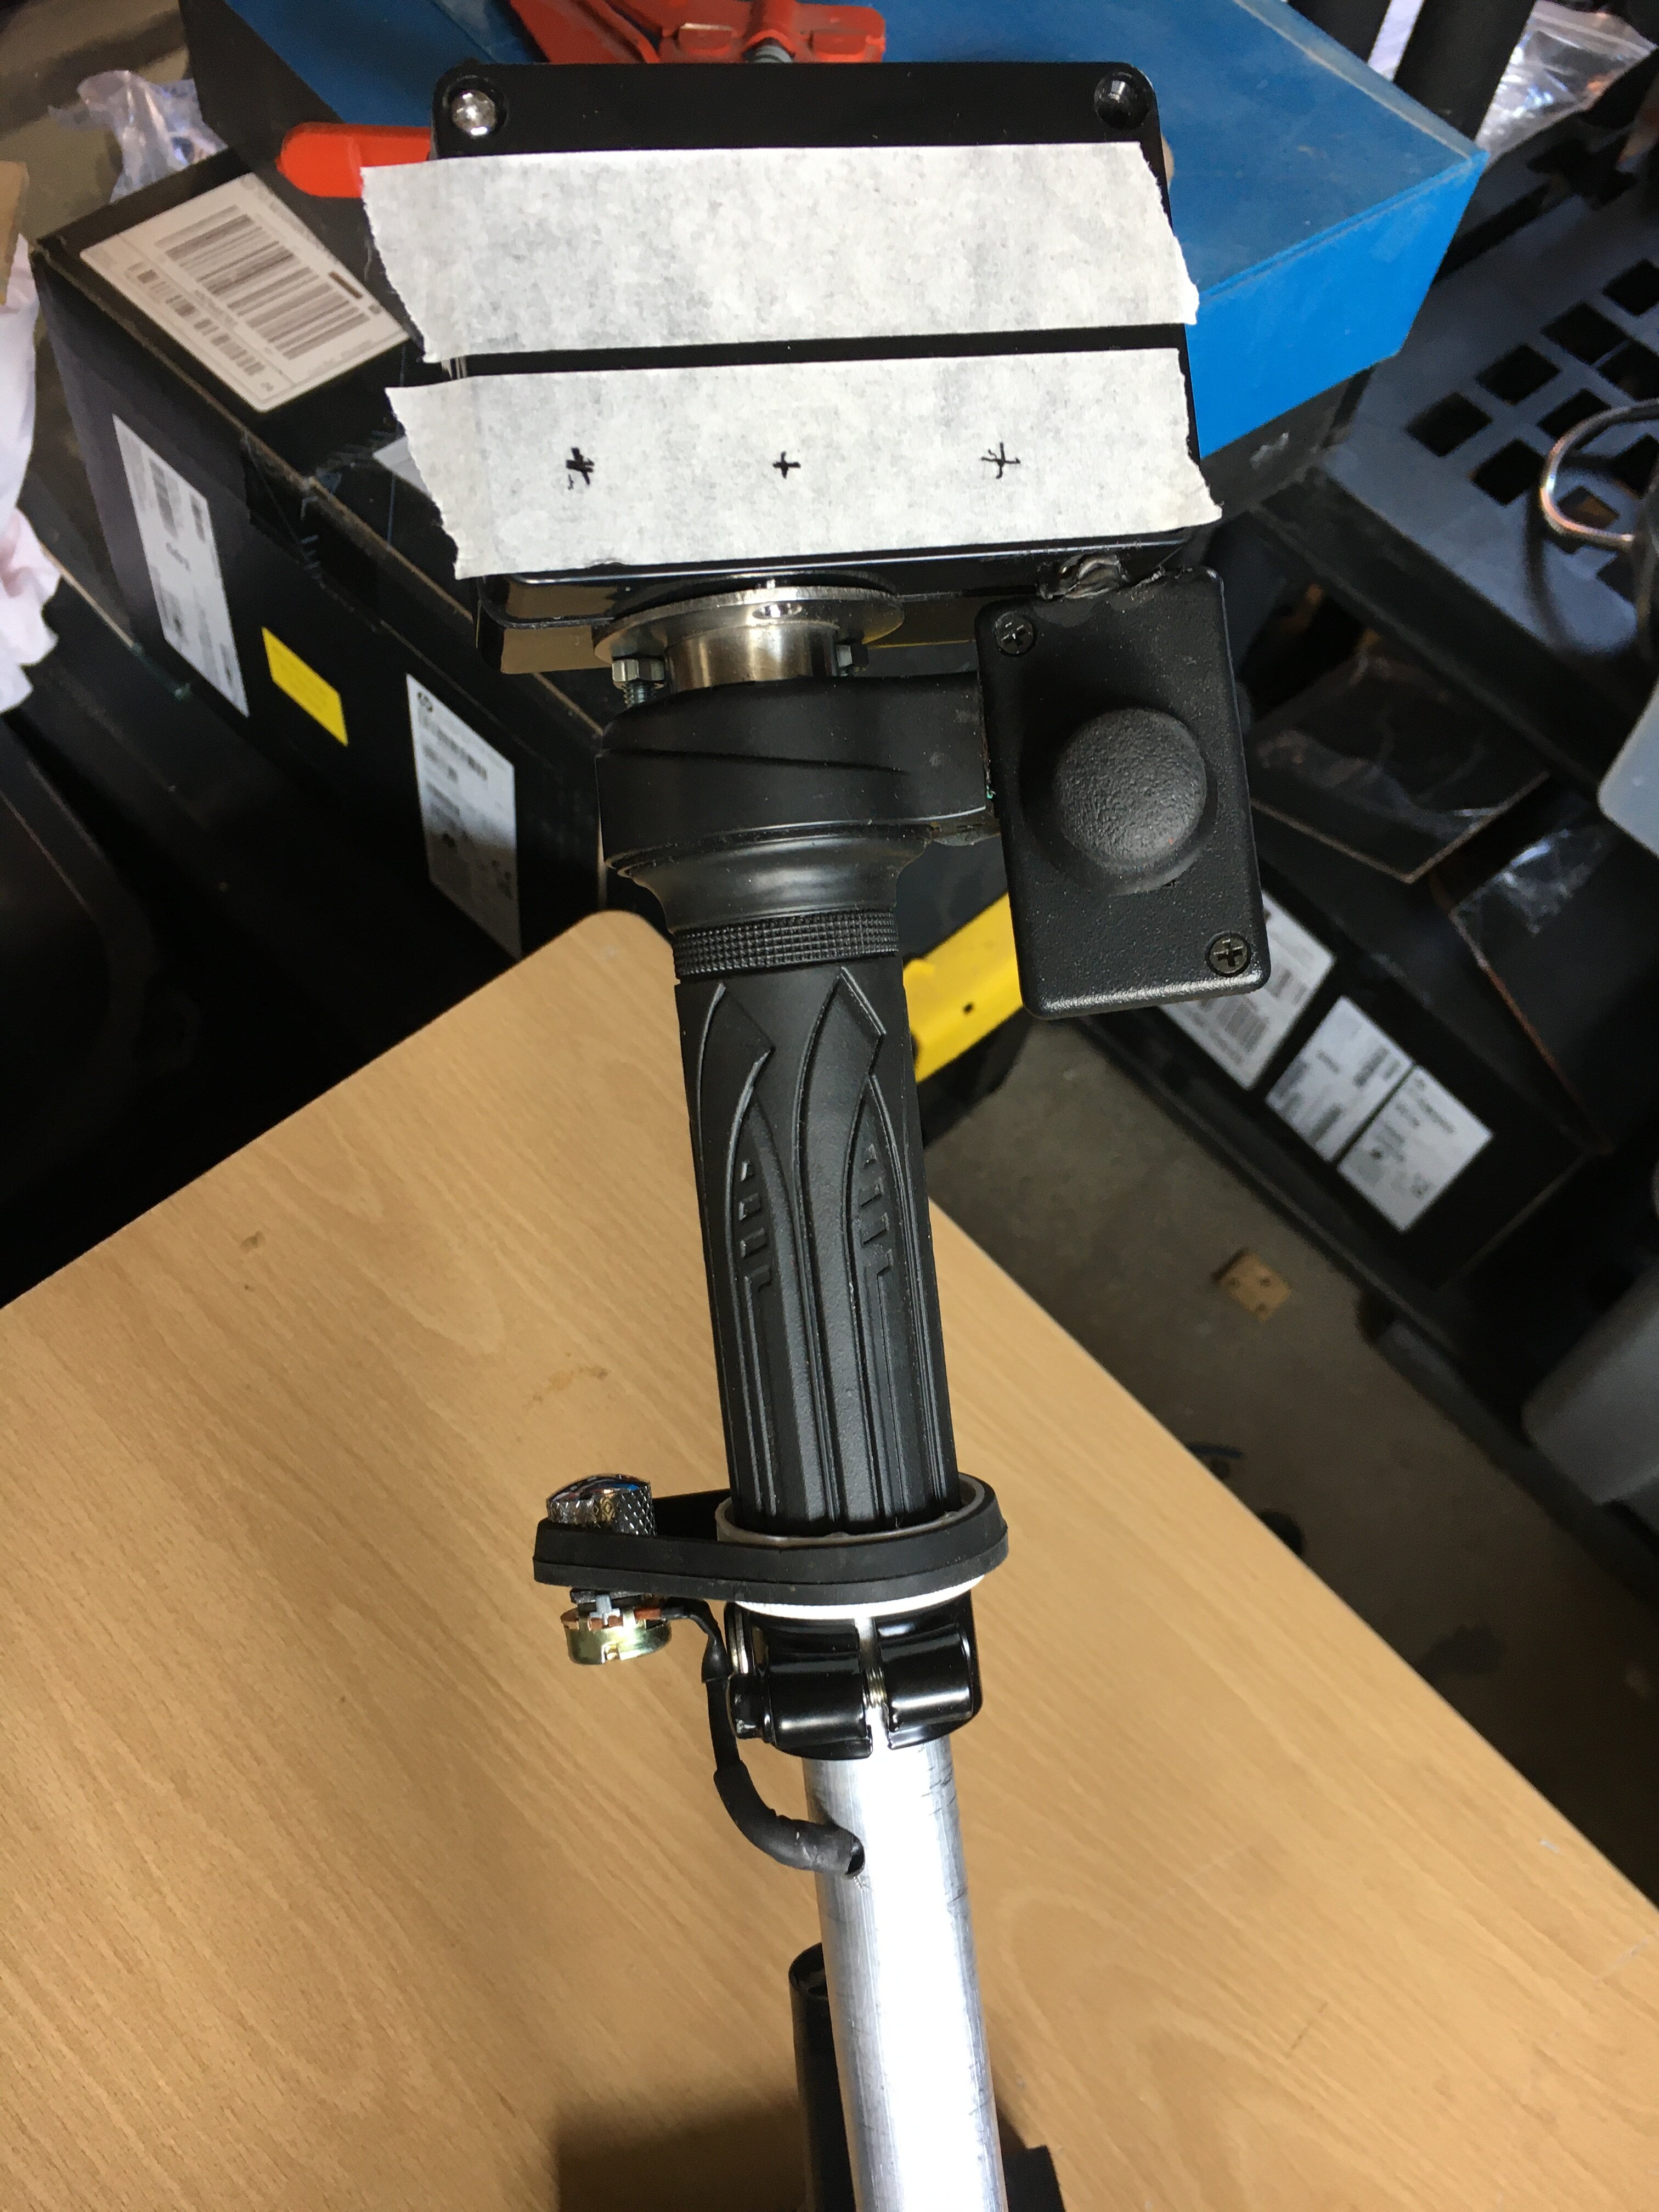
Now complete Arduino and switch wiring in the head This was using the DuPont cables which broke away from the solder when I fitted the top plate. I replaced the wires with silicon wires and soldered the ends to a 90 degree header pins to help with clearance. I will finish with a parts list, tools needed and some tips

-
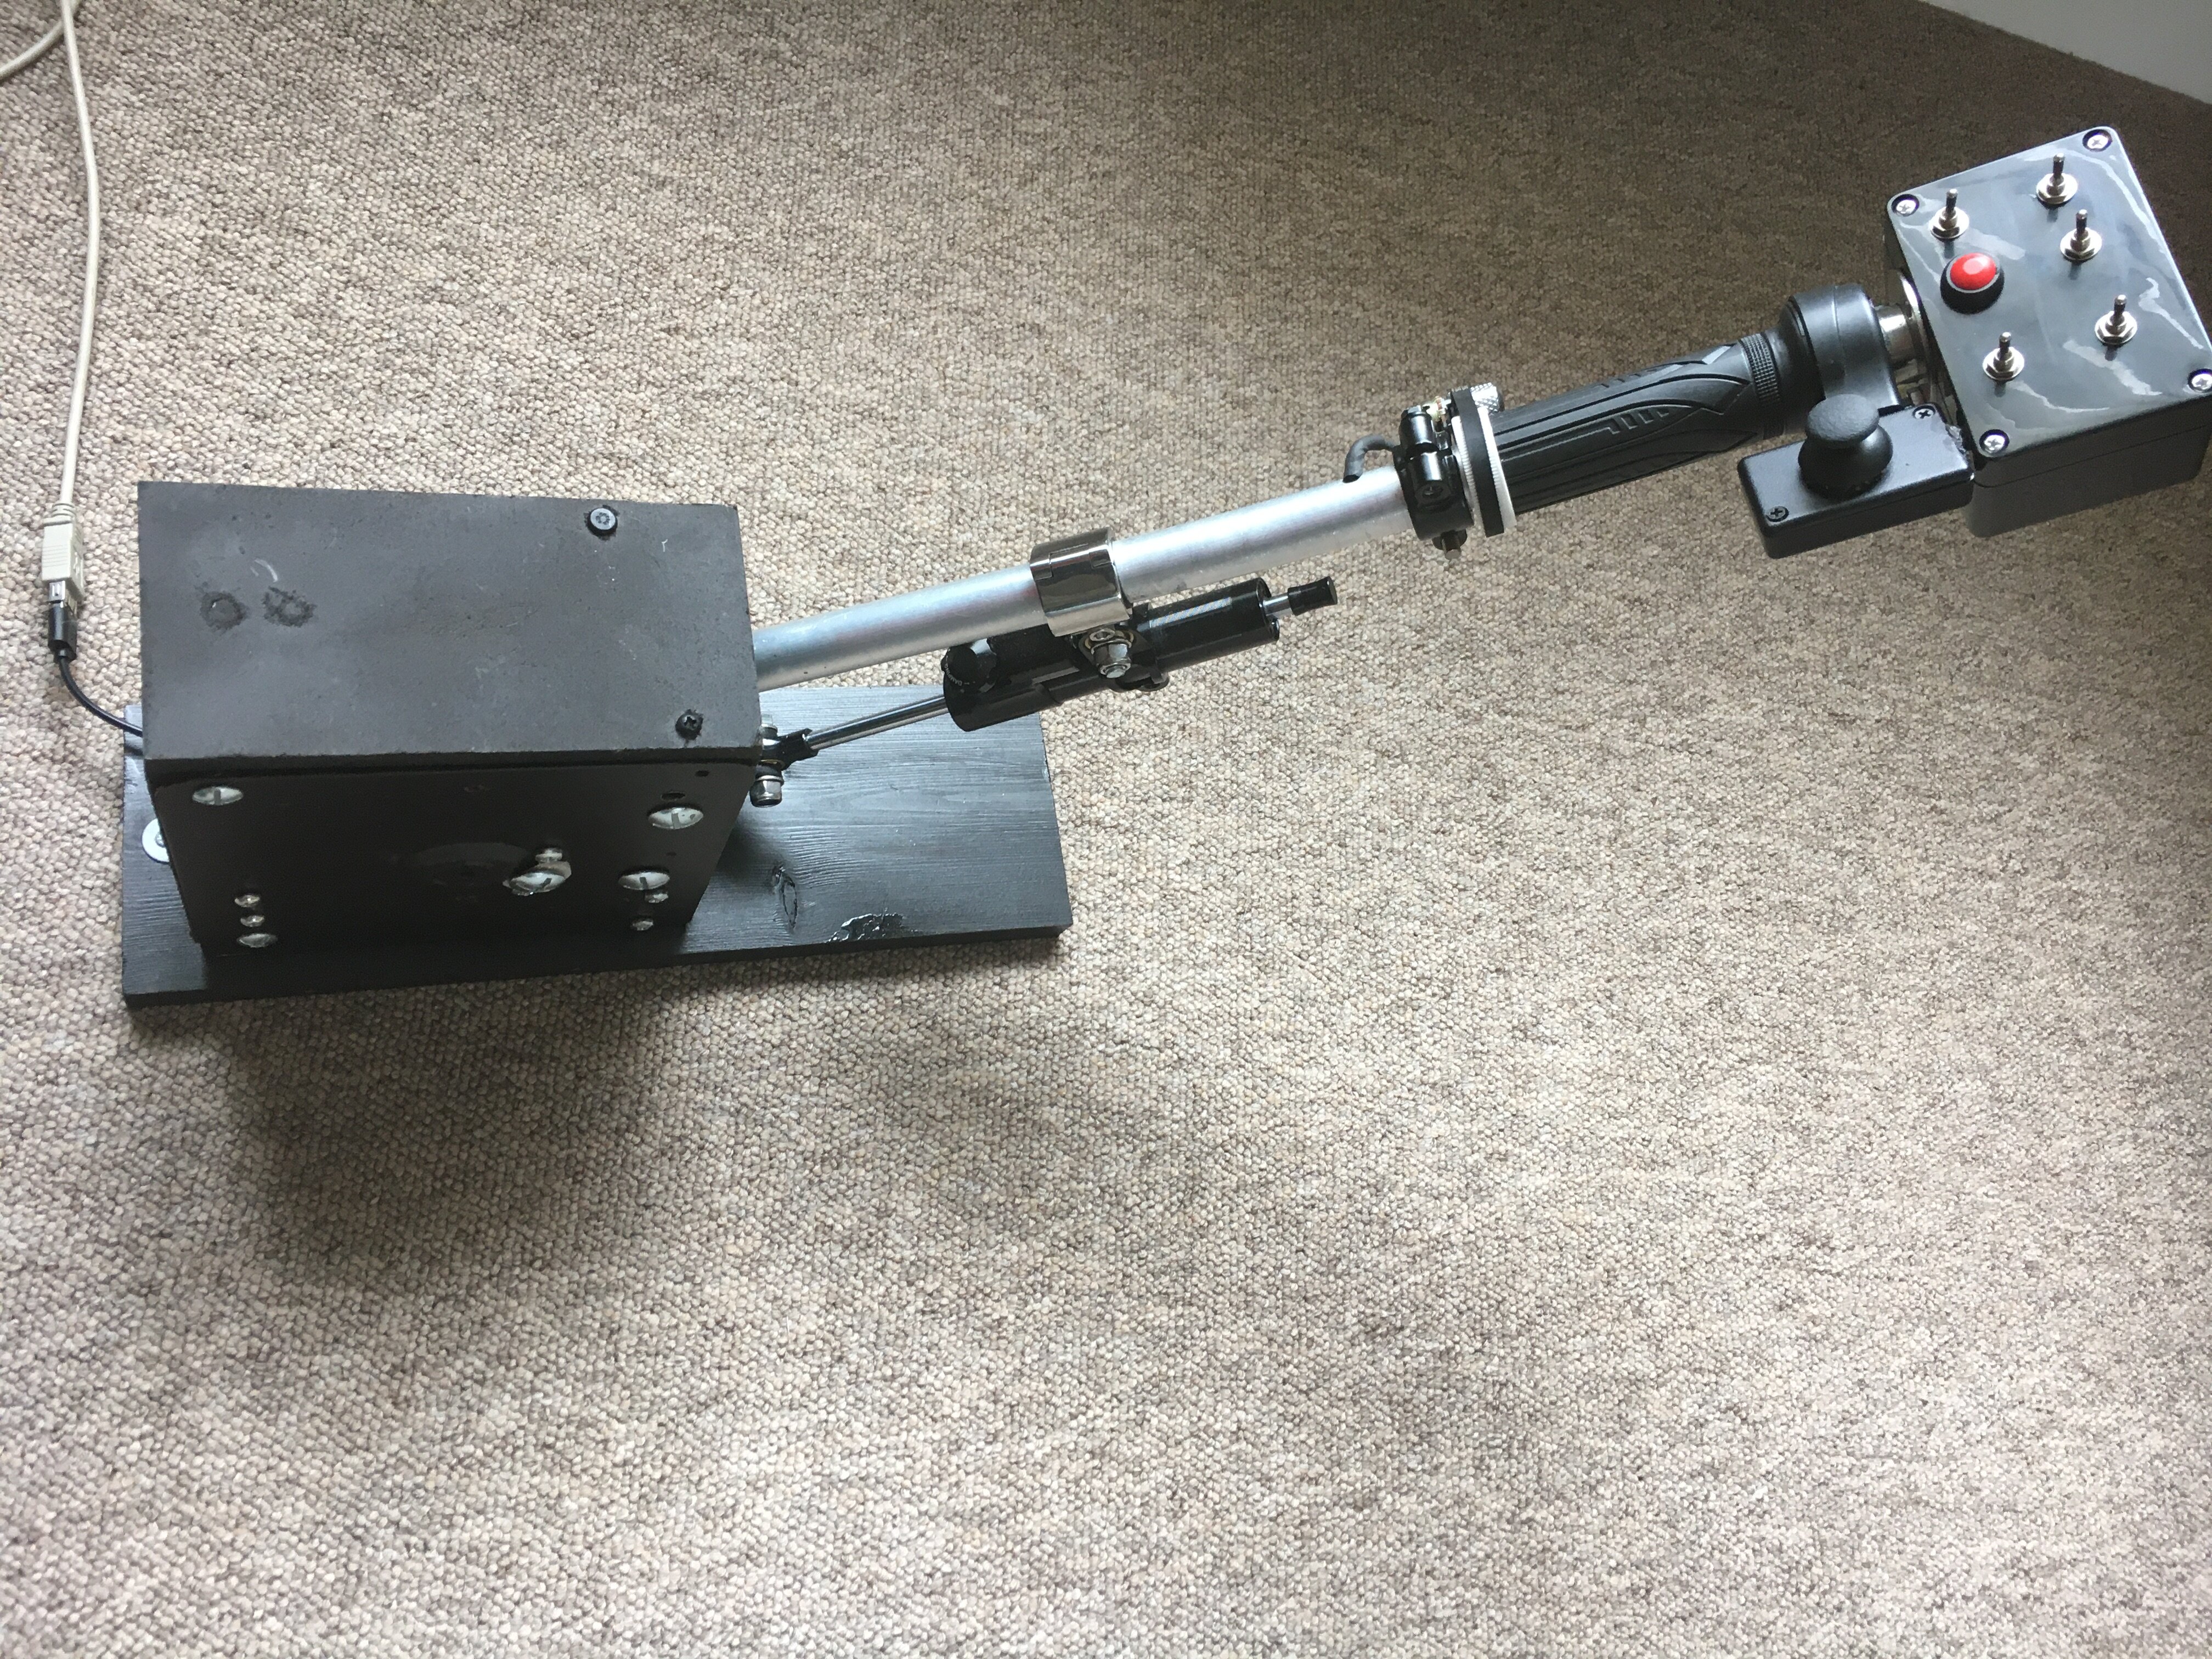
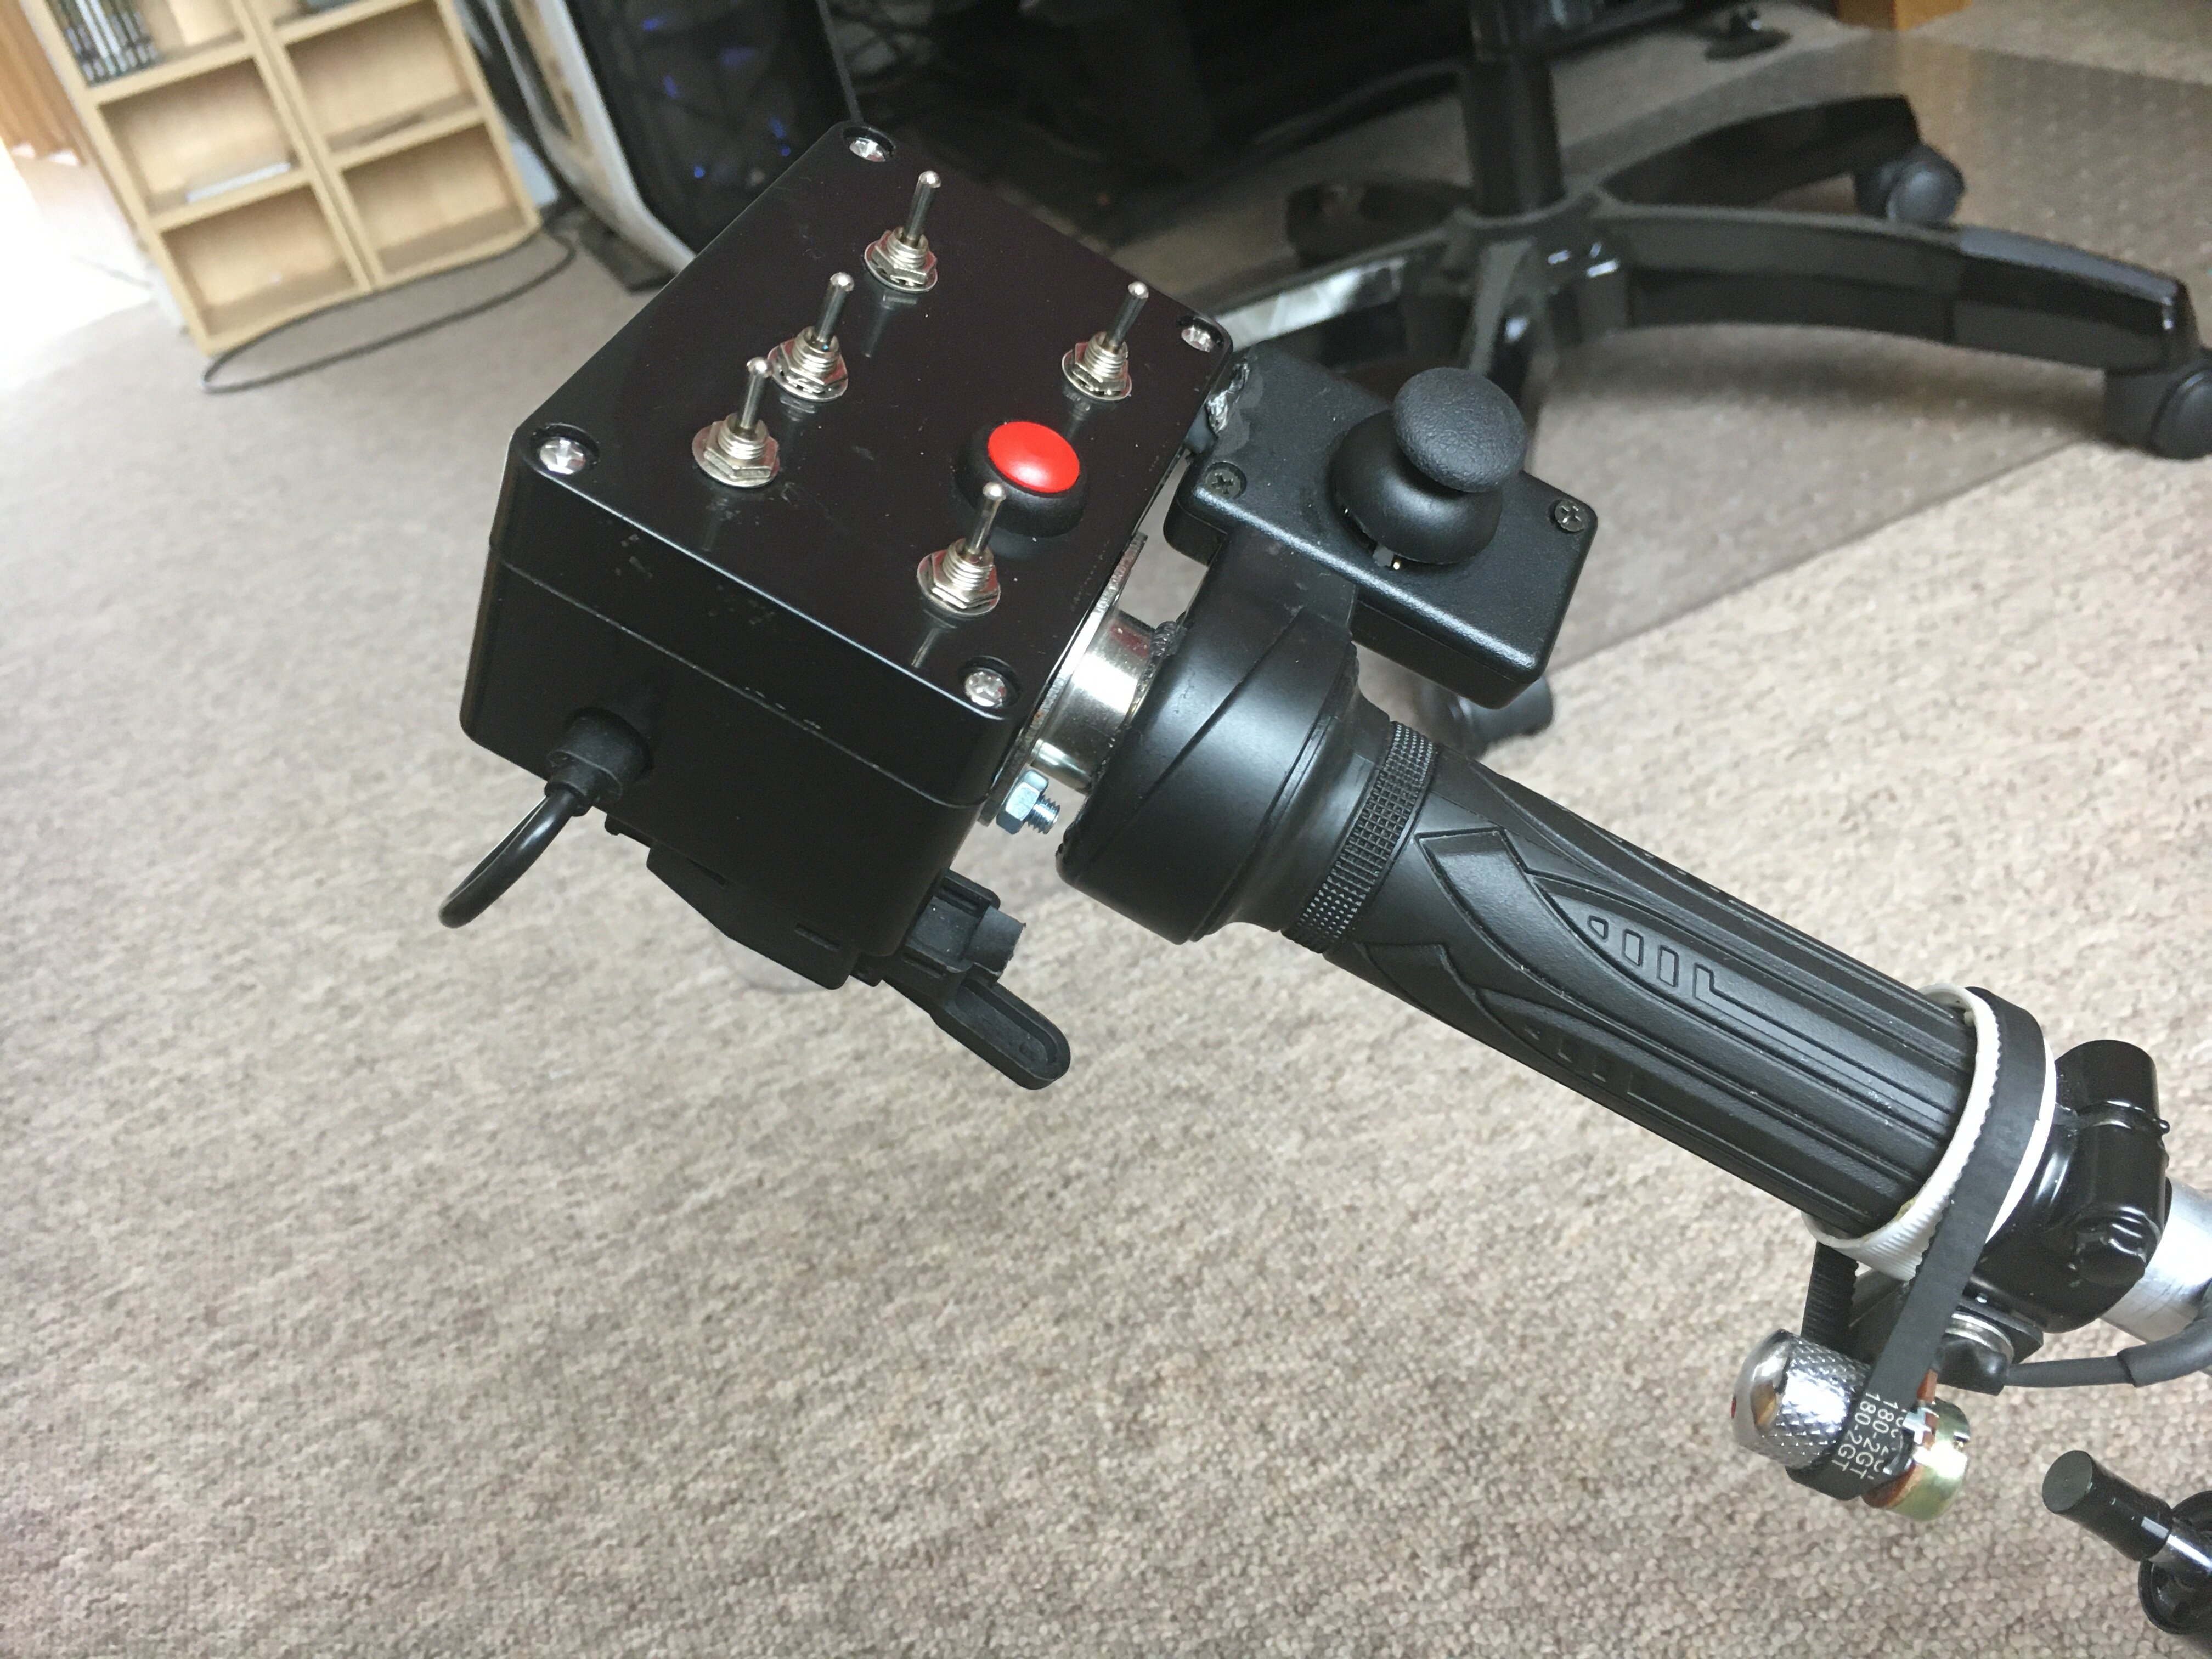
All boxed up, tested and calibrated. I will update the build thread next week. I will have to move my seat over a bit to give some room for the controller and while I am at it I will clean and tidy up the cabling as it is a bit of a mess.
-
All buttons and axis now show up and I have renamed the Arduino to Collective. I had to strip the box so that I could do continuity tests as not all buttons were working as they should. I found a programming error but its now sorted. Should be finished next week.
-
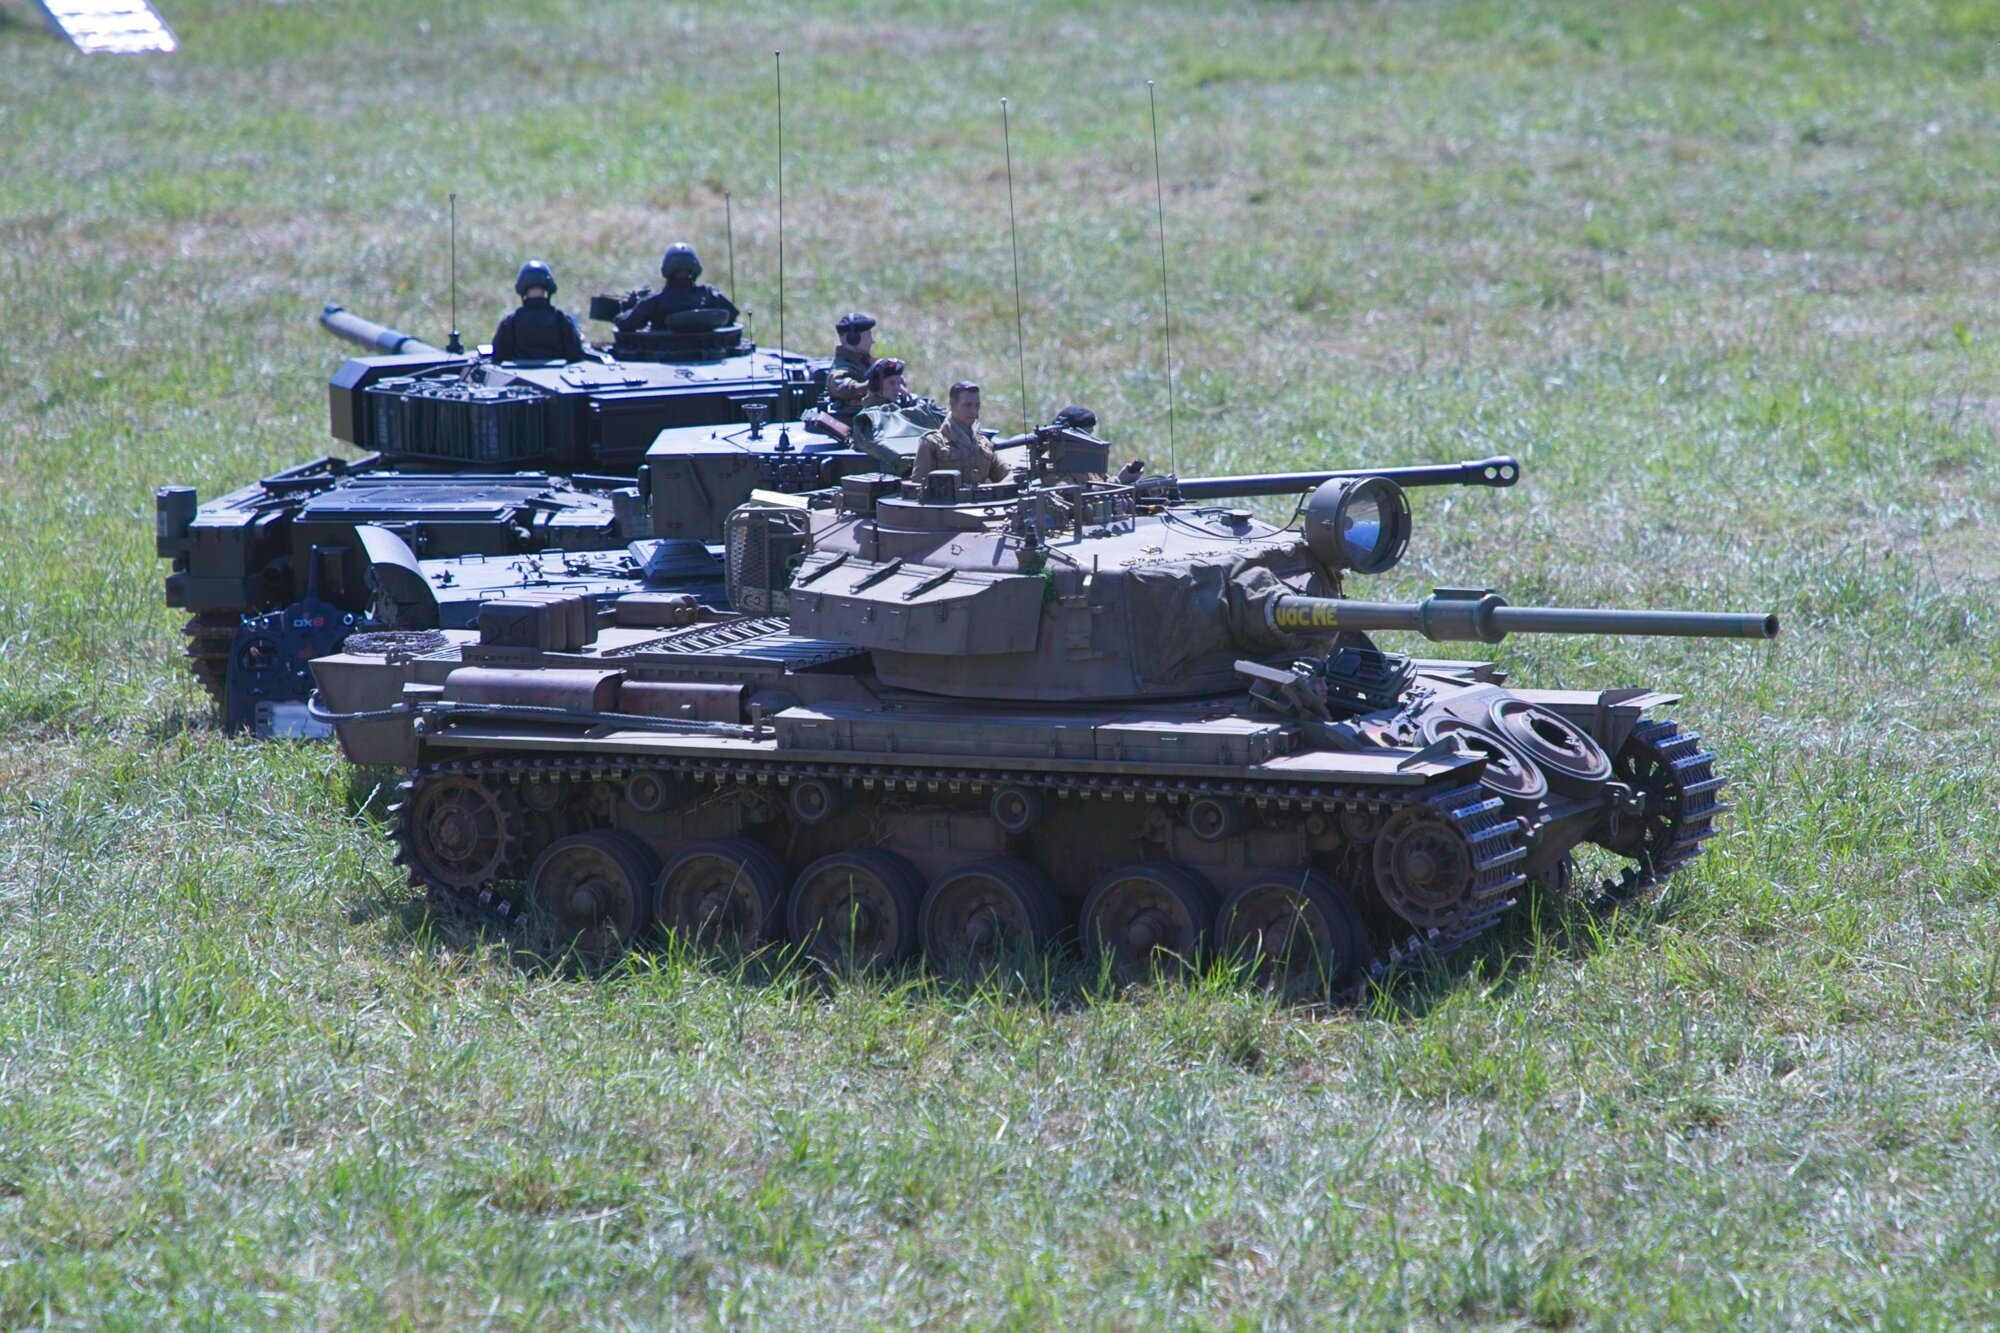
some pix The scale model tanks looked really good.
-
Seems that I should have connected the switches to ground. A little knowledge is dangerous. I will sort it out on Monday.
-
Z axis now sorted due to code error. Daisy chained buttons still no show. button 10 works, so the code must be OK. I will swap the power pin to 5v tomorrow.
-
Not much luck. Sketch is fine but 1 axis and 12 buttons have gone missing. Oh well I will take it apart tomorrow. Z axis no show due to coding error Buttons probably due to power pin not in properly
-
Soldering is hopefully all done. We will see tomorrow. IF it all works as planned then I will finish the build thread. All boxed up. Hope it all works!
-
Using the sketch from the video I THINK I have now got the sketch sorted. More soldering and then a test. It is finally on the last lap.
-
I have found a great video which explains stuff and has the sketch I was looking for.
-
If that doesnt work try an uninstaller or reg cleaner look here for some stuff https://download.cnet.com/utilities/windows/
-
My dog likes them
-
Dennis, what pins are you using? I might have to pinch your sketch and mod it.
-
Parts will arrive today and I will try to get to grips with the Leonardo.
-
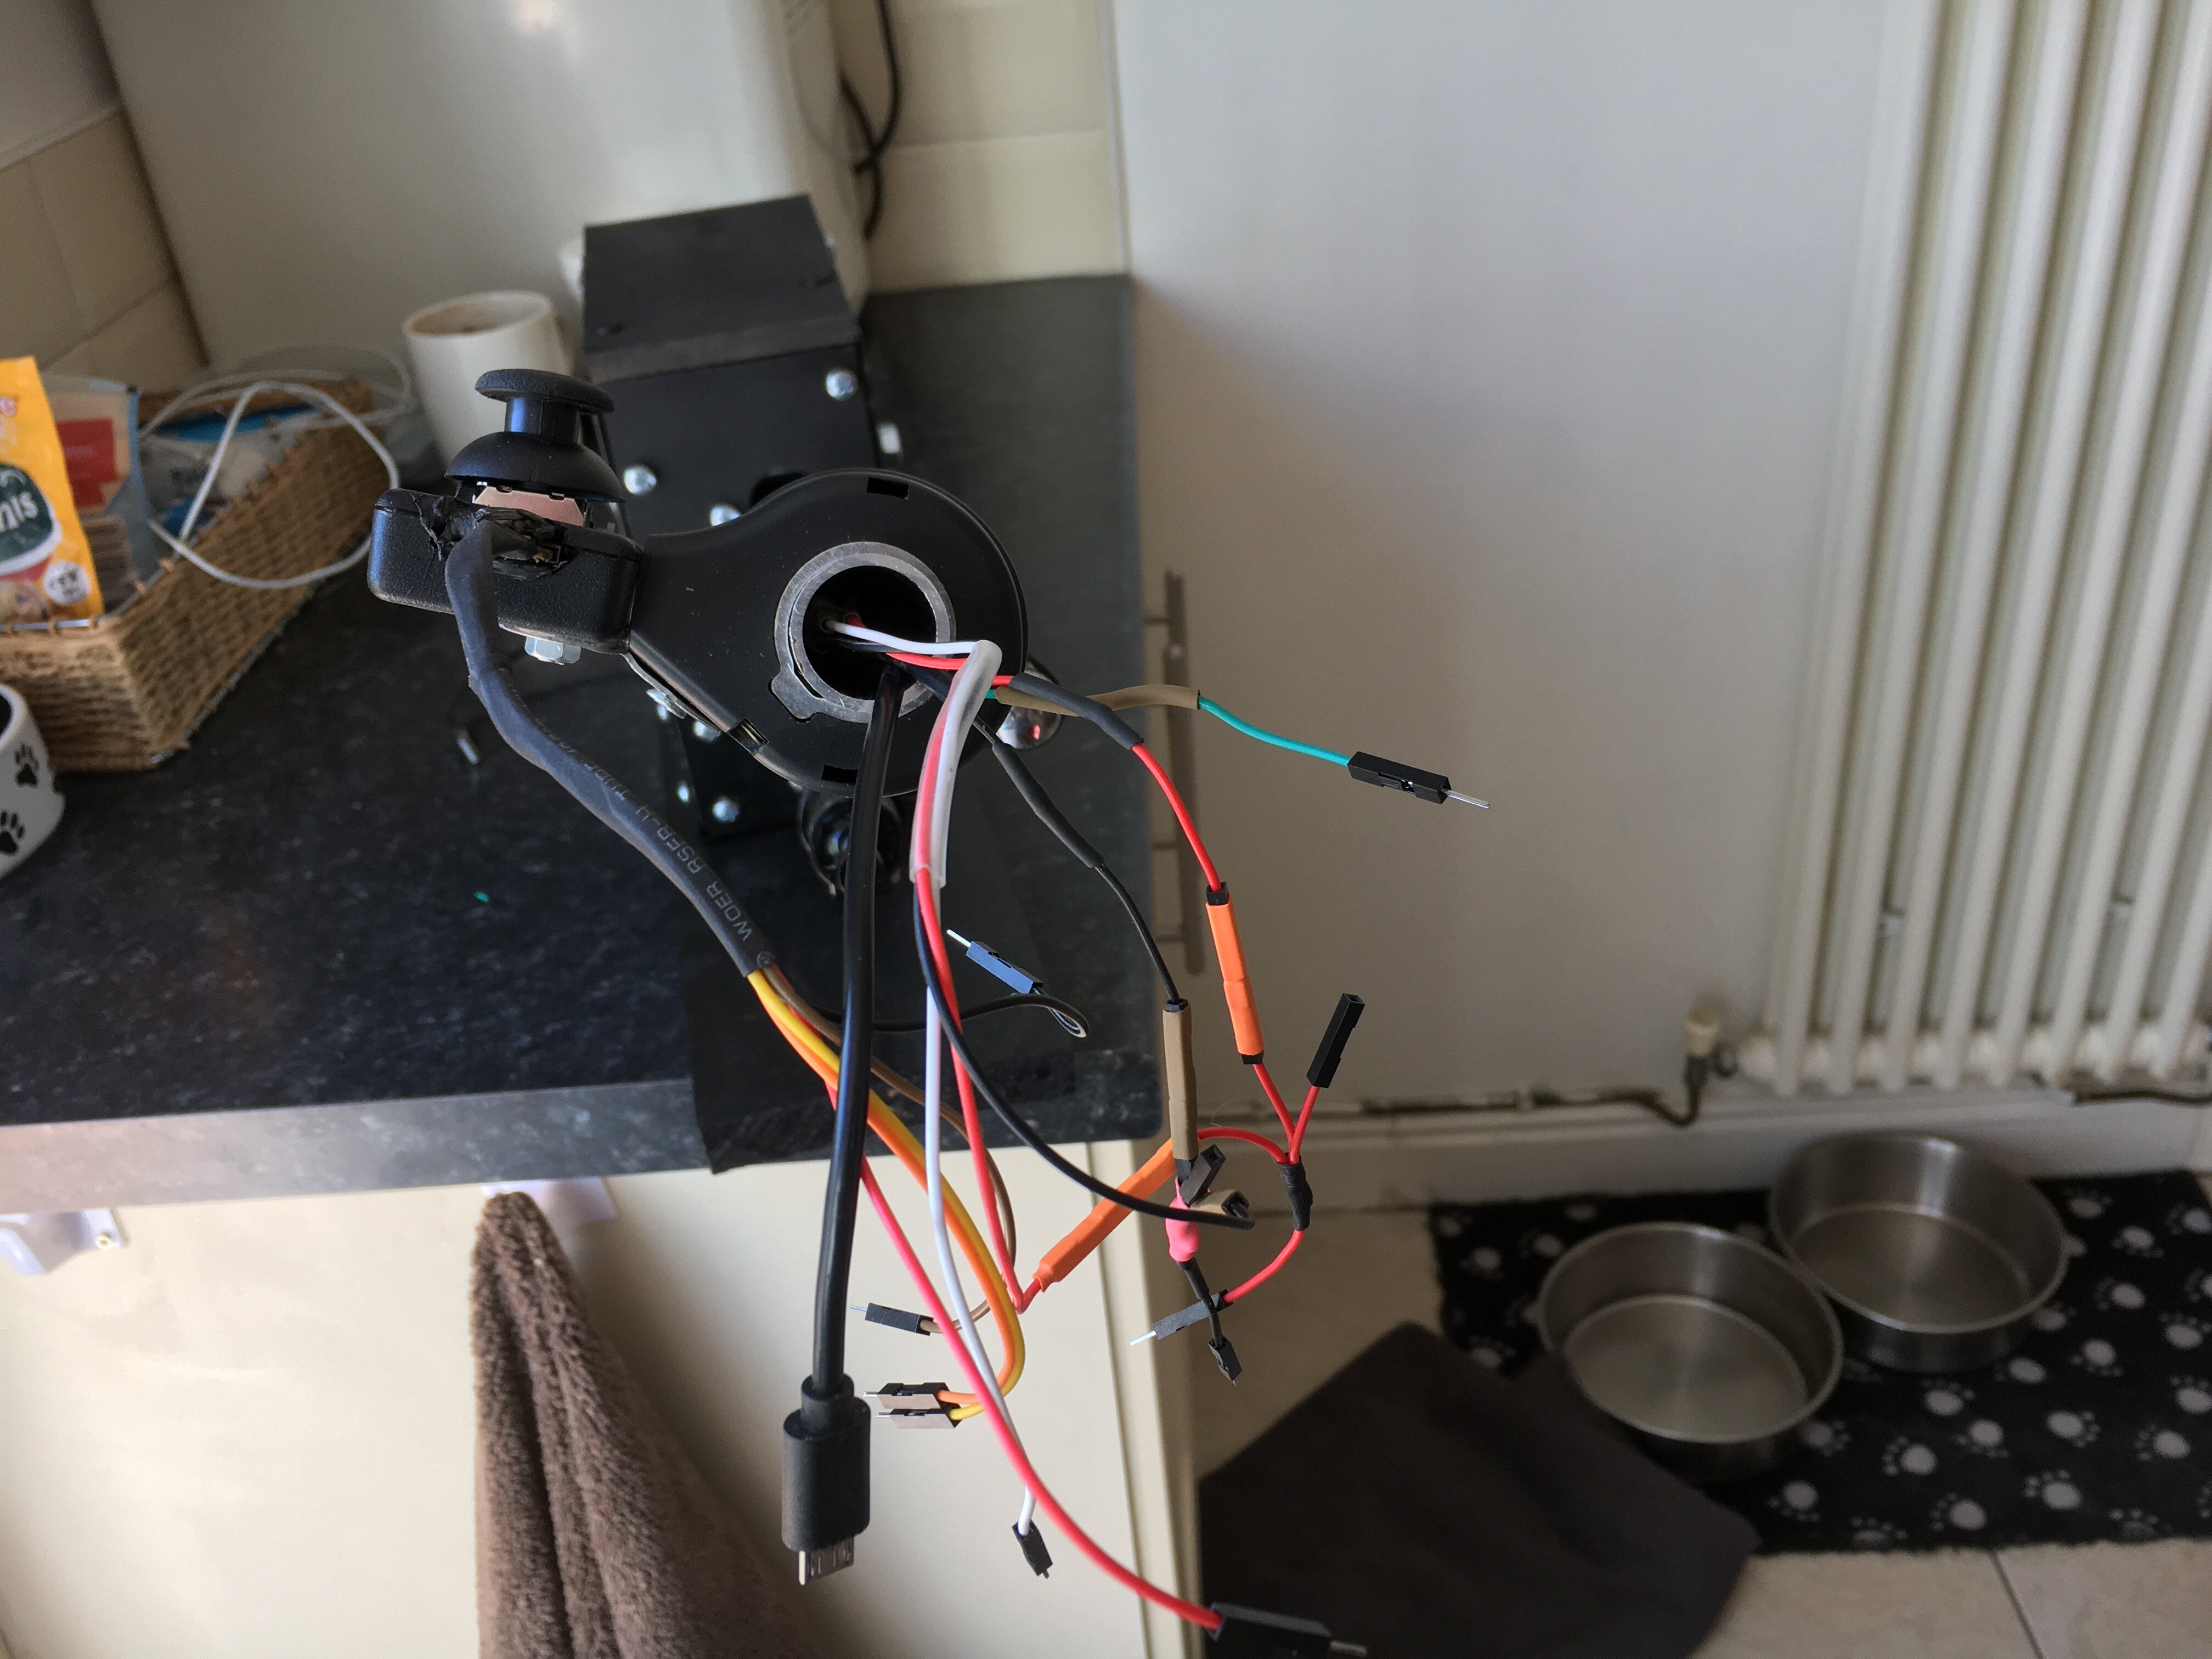
I have hit a snag. I have soldered the dupont wires to the switches but the wires break very easily. I think I will have to re-wire and use crimped connectors. Wire, soldering tips and terminals ordered. Got to get this sorted!
-
Thanks Dennis, I will run the pots (4 of them) off the 5v and the buttons off the 3v. I have found out that i can glue the pins off my dupont cables together and make a sort of multi-pin plug. The sketch hasnt been sorted yet, I have one for 5 axis controller. I can edit that down to 4 and then add the button part. I will have 13 buttons, each to a separate pin so I will have to copy paste the routine for this and then test it.
-
Dennis, can I use the 3v to power the buttons? I have looked up on google but I cant find out. What about the 5v (pin2) on the 6 pin header, can that be used?
-

Stalingrad - Next Round June 25th
Crash replied to Friar's topic in IL-2 Sturmovik: Great Battles Series
I think Beagle was having possible heat issues. -
It nearly finished now Colin. I have covered what I did in the Hardware forum. Outstanding jobs are 1/ glue the collar on to the column 2/ drill a hole to feed the usb cable through the button box 3/ do the Arduino sketch 4/ plug the cables into the board and test 5/ fit the assembly into the simpit.
-
next bit the old belt using a 1 1/2" rubber seal from a waste pipe. This developed a split. marking out switch positions Lots of wires New improved belt
-
mmkay
-
The cunning plan worked and the soldering is now done. A few minor jobs to do the sketch and test. Will put up some photos tomorrow.