Leaderboard

Popular Content
Showing content with the highest reputation on 10/31/2019 in all areas
-
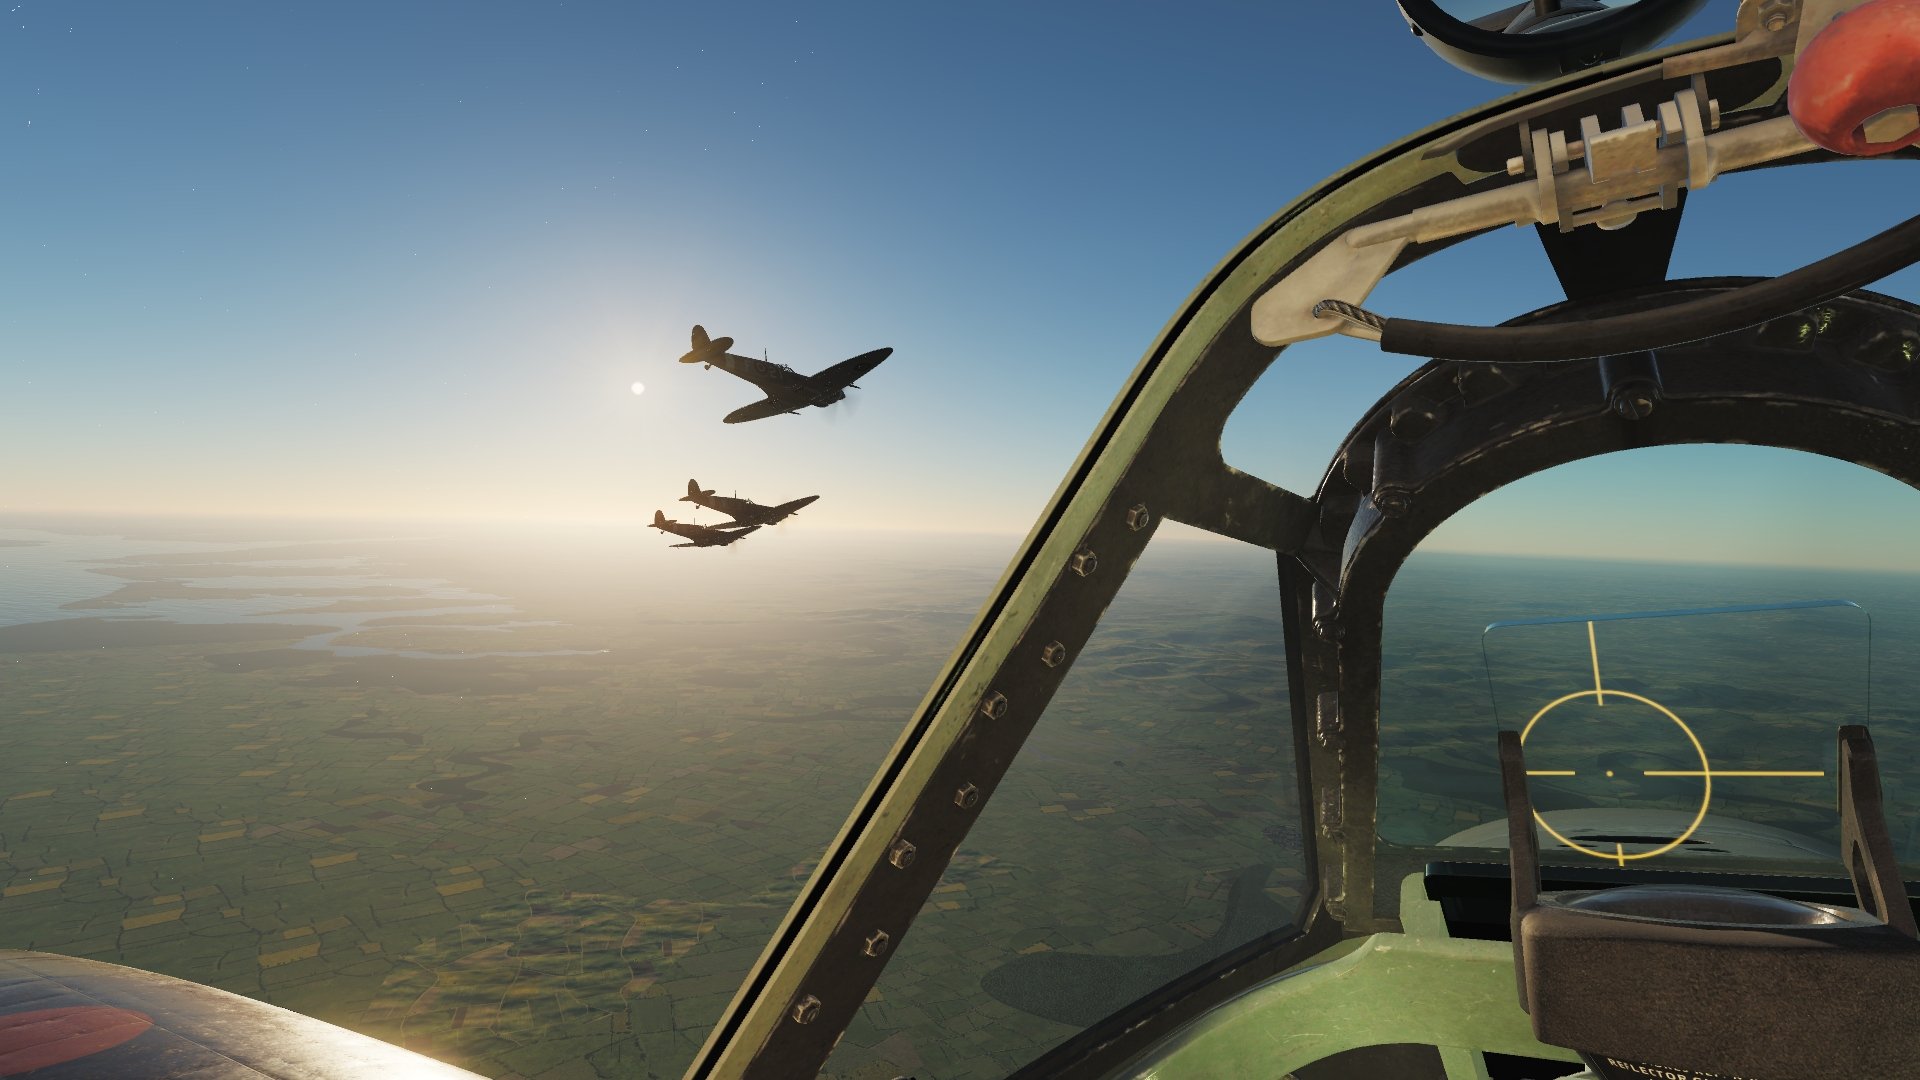
Nearly home ... Painless and Fenrir, lead by Wiggy, from FT's cockpit What a joy!
 1 point
 -
From Boo on the GBS forums Get the things you need Download Gimp Install a plug in that allows gimp to work with DDS files like this one https://code.google.com/archive/p/gimp-dds/ Download the official template for the aircraft(s) you want. Download the skin the skin you want to work with. (there are 2K and 4K versions so chose the one you want) Prepare the Template Open Gimp and in the "windows" header along the top click "dockable Dialogues" and select "brushes", Layers" and "Channels" Now go to File, then click open and navigate to the template (its esier if you've put it on your desk top) and click on it Click "convert" when prompted. Now turnoff all the layers by clicking the eye icon next to them in the "layers window". You will see braches in things like weathering - turning off the eye at the top of these branches will also turn off anything in them (for speed) - you can also collapse the braches for neatness. Prepare the skin you want to amend Now go back to "file" and click "open" again - this time navigate to the skin you want to alter. When prompted untick "import mip maps" and proceed. Now you will see a faded image in a new window. You will need to right click on the image in the "layers" window for and click "duplicate" layer. The active windows will always be associated with the last main window you clicked on. Now repeat Duplicate layers another two of three times. The image still wont be fully opaque so, for ease right clck on the top layer and select "merge Down" - keep doing for the other layers until you are back to kust one item again. Repeat the "duplicate layer" with this new strong layer a few more times until it appears totally solid (no grey checkerboard is showing). Repeat the merge layers down process again until you have only one layer. Import the skin to the main template right click on the skin layer you have created and and click on "layer to image size" - ive found this helps with the alignment of layers dragged over to other projects. Now left click on the layer in the layer window and drag it into the MAIN WINDOW of the skin template project you opened first of all (the one with all the layers you switched off. Ideally you want you skin at the bottom so just left click it and drag you point down to the bottom of the layers window. Edit the skin Click on the layer in the layer window Ensure that the area you want to work in is active - you can do this by pressing "R" on the keyboard and dragging a rectangle out around the area you want. Now select the colour of the paint you want to use to overpaint the swastika with - to do this press "O" on the keyboard then move the dropper that appears to the paint colour you want and left click Now select a paint tool by pressing either A for airbrush or P for paintbrush. In the Brushes window you will see a number of shapes and an bar for "spacing". Select one of the round soft edged shapes and lower the spacing amount if you want (you will see a dotted outline on the icon in the main window that will show you the size of the brush) Overpaint the area you want and repeat the colour picking and painting with other colours as you wish. If you make a mistake just press ctrl and z to undo your last action Prepare the skin for export Now you can prepare your skin for export Rick click on the layer and click on "merge Visible layers" in the pop up window select "clipped to bottom layer" - this step isn't probably necessary with just one atcie layer but is here just for completeness. Next Right click on the layer in the layer window and then select "Add layer Mask" In the window that pops up selected the bottom option "channel" and make sure that "Alpha1" is selected in the box below - now you will see the image becomes semi transparent and the grey checkerboard appears. your skin is now ready for export. Export the Skin Go to file then click on "export as" Type in the name of the skin you will know it as and make sure you end the name with .dds. This will prompt gimp to work in dds export mode. Click "export" and in the box that appears select "BC3/DXT5" in the compression level dropdown and "Generate Mipmaps" in the mipmaps box In the "Advanced" section select "Box" in the Filter Click OK to complete the export Save the template for later use FINALLY - go back to your main project template and undo the Marge visible layers and add layer mask actions (press Ctrl Z twice) and save it. This is a basic guide - it will destroy any weathering around the area you have painted but you can always but this back in by switching on the layers affected and copying them in but I wont cover that here. Careful work with the airbrush option and a small pattern should see you right though. You could replace the swastika with the default version if its in the template or even create a new layer on which to paint instead of directly onto the original skin. Whatever you do, if you publish it, credit the original artist. Cheers BOO Going to have a play with this1 point